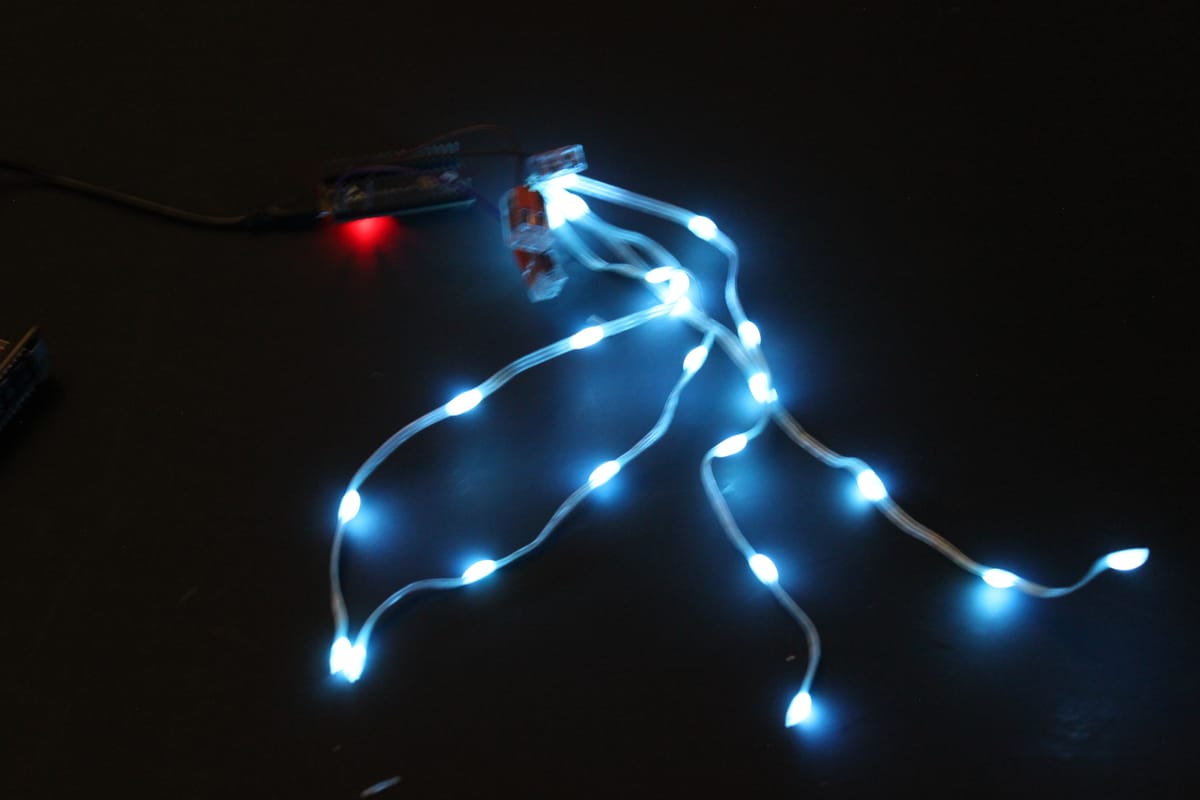
The August 8th and 22nd workshops at Ingenuity Cleveland will feature two of my LED projects. The Meshed LED Jellyfish project is a mesh network of "jellyfish". . For information on the other workshops and the 2026 Festival, see https://www.ingenuitycleveland.org/programs/ingenuityfest/. My other workshop project is a wall of LED stars and constellations for the Cryptid Forest Stage (aka the Cabaret Stage).
Version 3 of the Meshed Jellies will see the creatures expand out of the Enchanted Forest and spread out throughout the building as a true mesh network. Each individual lights up with a pattern of lights. They are all listening to their neighbors periodically broadcasting their current patterns. Occasionally an individual will randomly choose to mimic a pattern it receives. Even more occasionally, an individual will randomly reset and choose a new random pattern. The overall effect is a collection of individuals that slowly evolve their patterns together, cohesively, and autonomously.
In the workshop, we will assemble more individuals for the festival-wide network. Topics covered include:
- Assembly - cutting wires, twisting wires, connecting wires with lever-nuts (Wagos).
- Soldering - get a quick intro to soldering. We use a small bit of solder to lock the wires together. There also may be posts needing to be soldered to the little circuit boards.
- Intro to LED programming - using FastLED. The light-up behaviours of the individuals are already programmed. We can walk through the coding, and possible add a new pattern.
- Intro to mesh networks - hands on demo and experimentation. We will deploy some individuals to demo and test the network in our main space.
No experience is necessary or expected. We will adapt the LED workshops as needed for all levels of involvement. This workshop is paired with a similar LED workshop focused on building a wall of starlight and constellations for one of our stages. We will have things to do both weekends. All materials will be provided.
Assembling a Jelly - Instructions
Assemble the materials and tools.
- string of 12 - 24 pebble style "paulzhang" LEDs
- 3 Wago 2-slot connectors
- 3 Dupont connectors, ideally 1 purple/red, 1 black, and one of another color
- 1 ESP32 Pico Kit or 1 ESP32 C6
- USB A to Micro or either a USB C to C or A to C cable
- laptop or computer to compile and upload code
- (optional) solder + iron
- (optional) insulation sleeves (similar in size to wires, a.k.a. small)
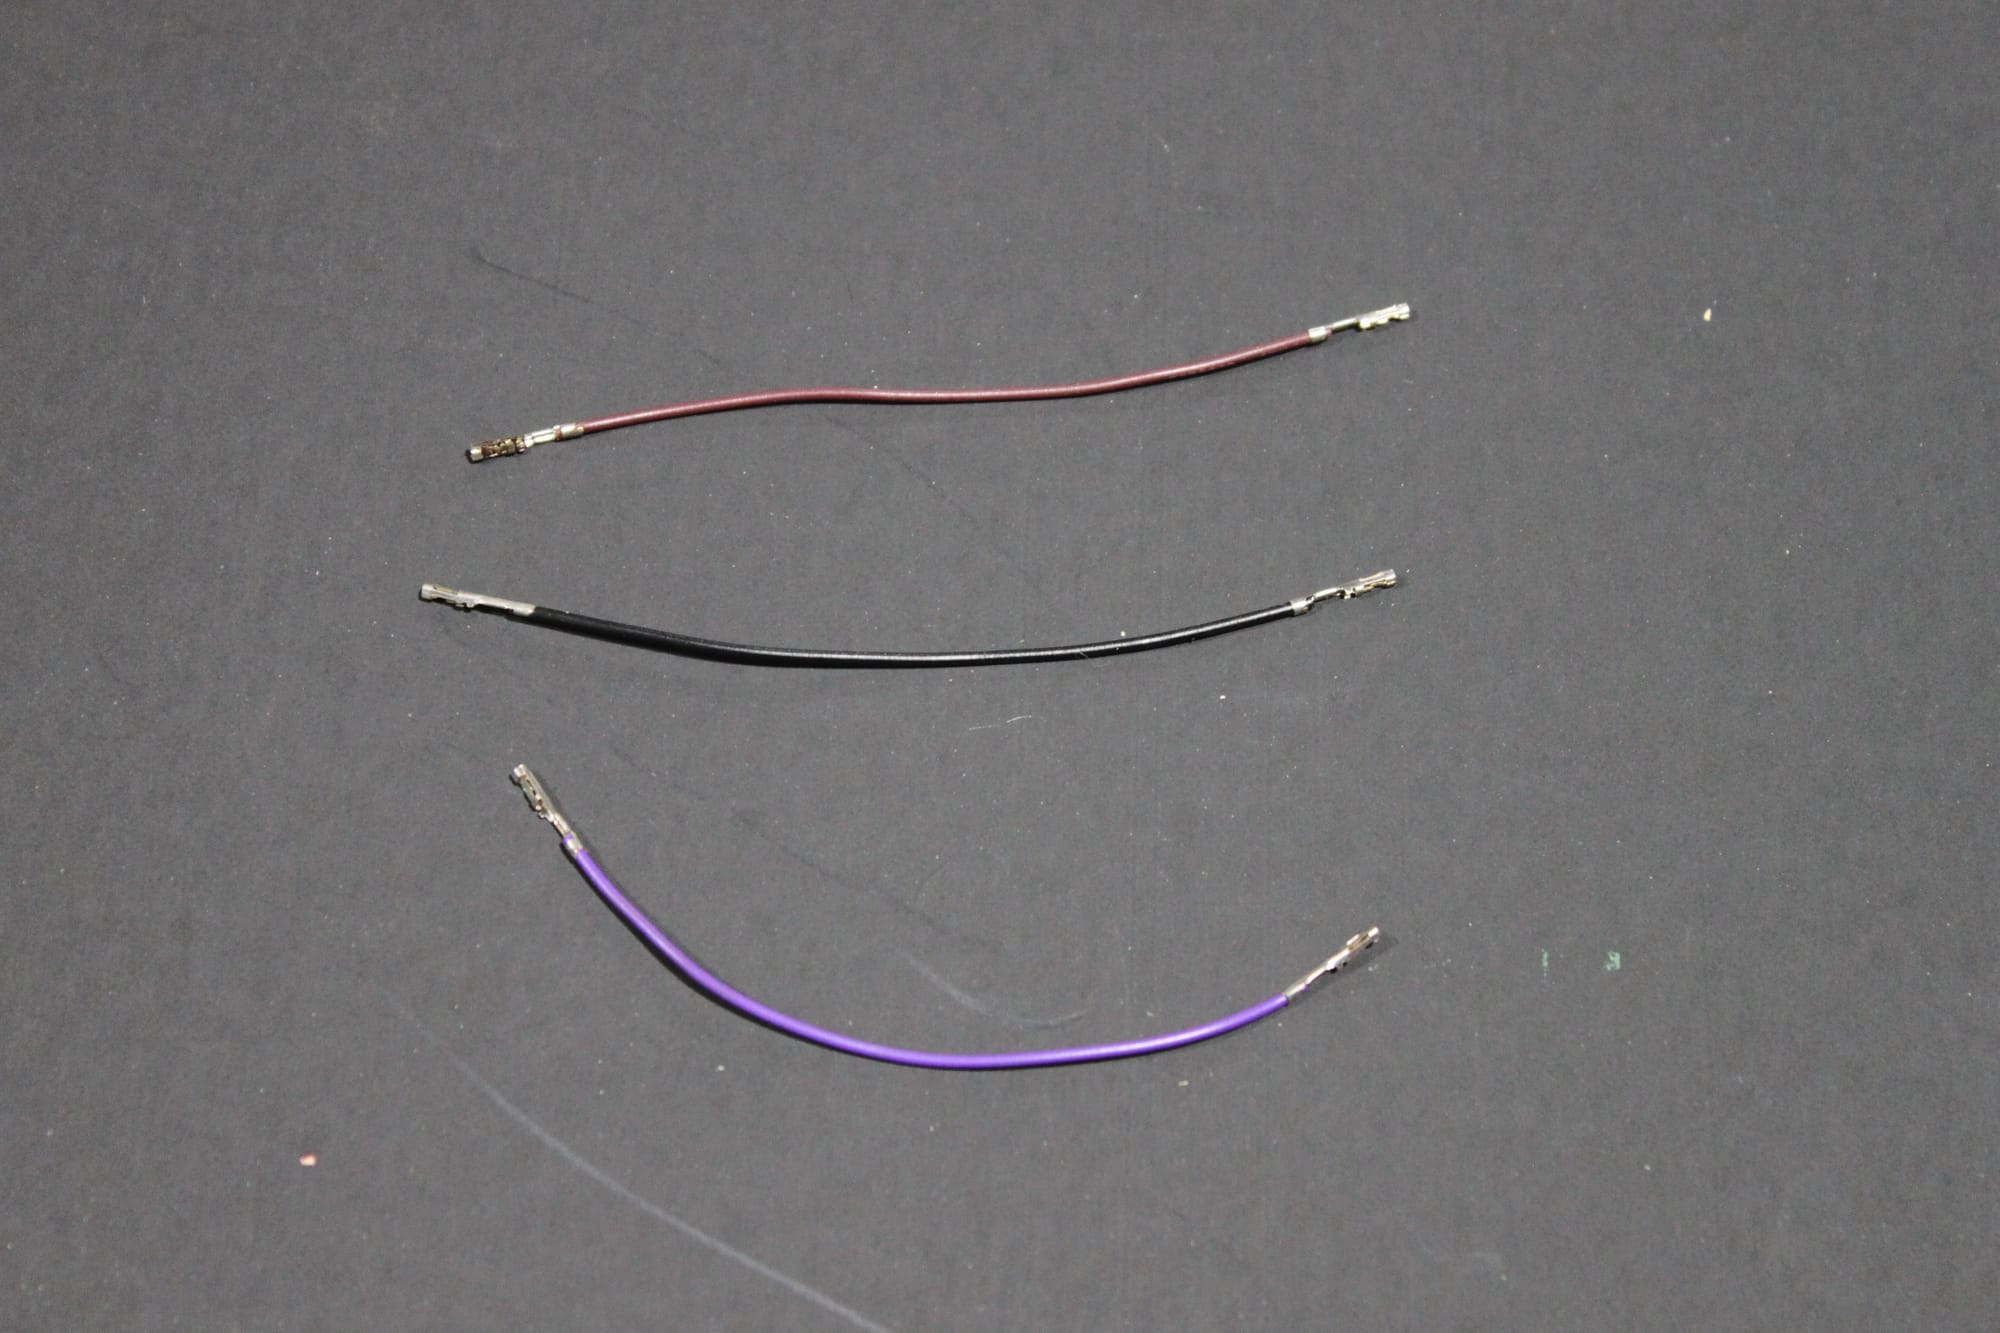
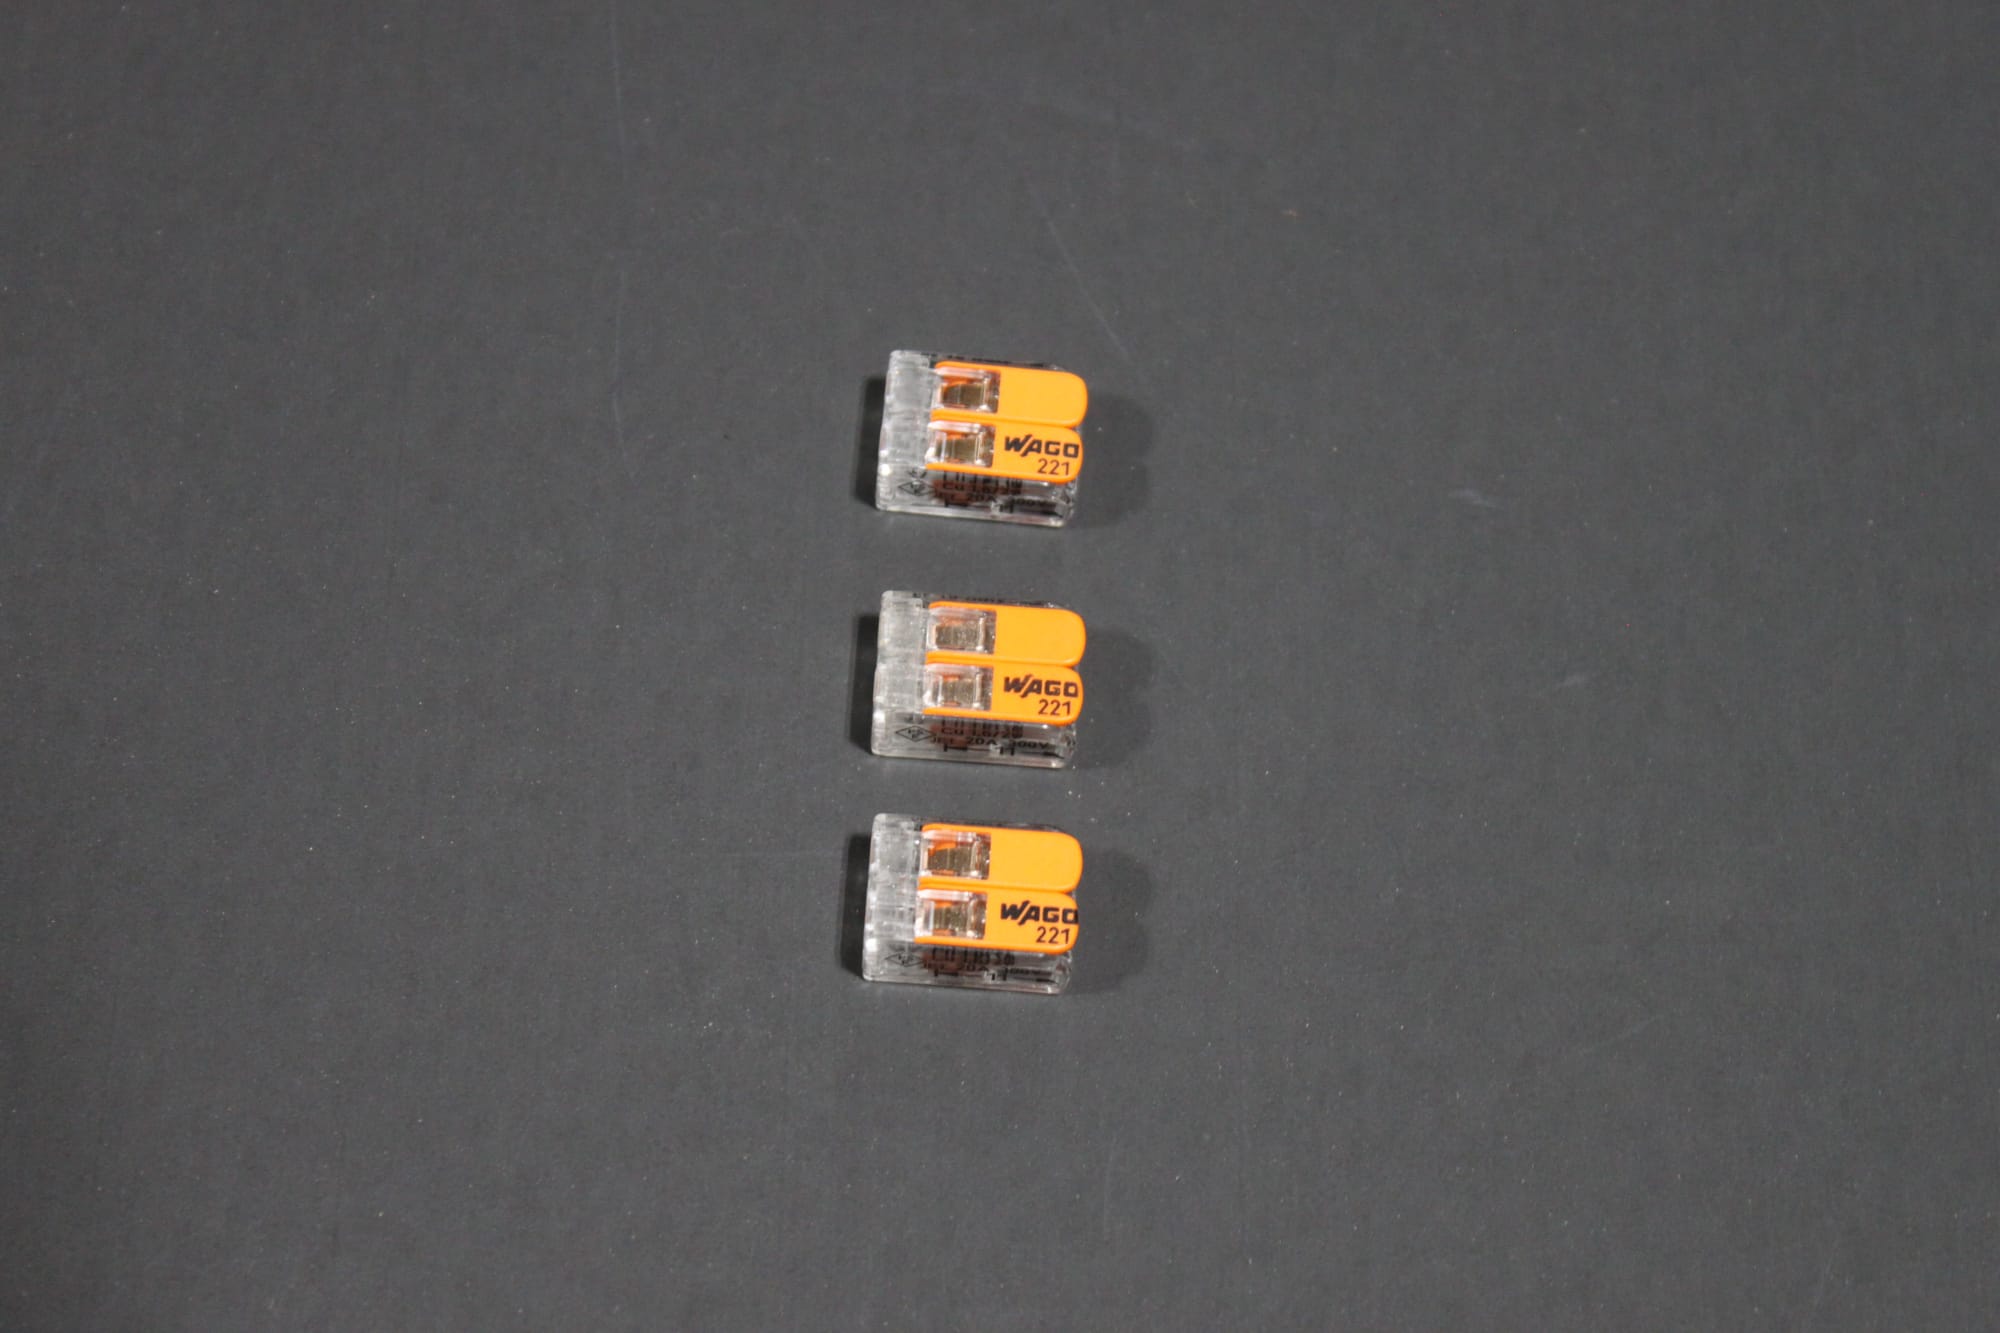
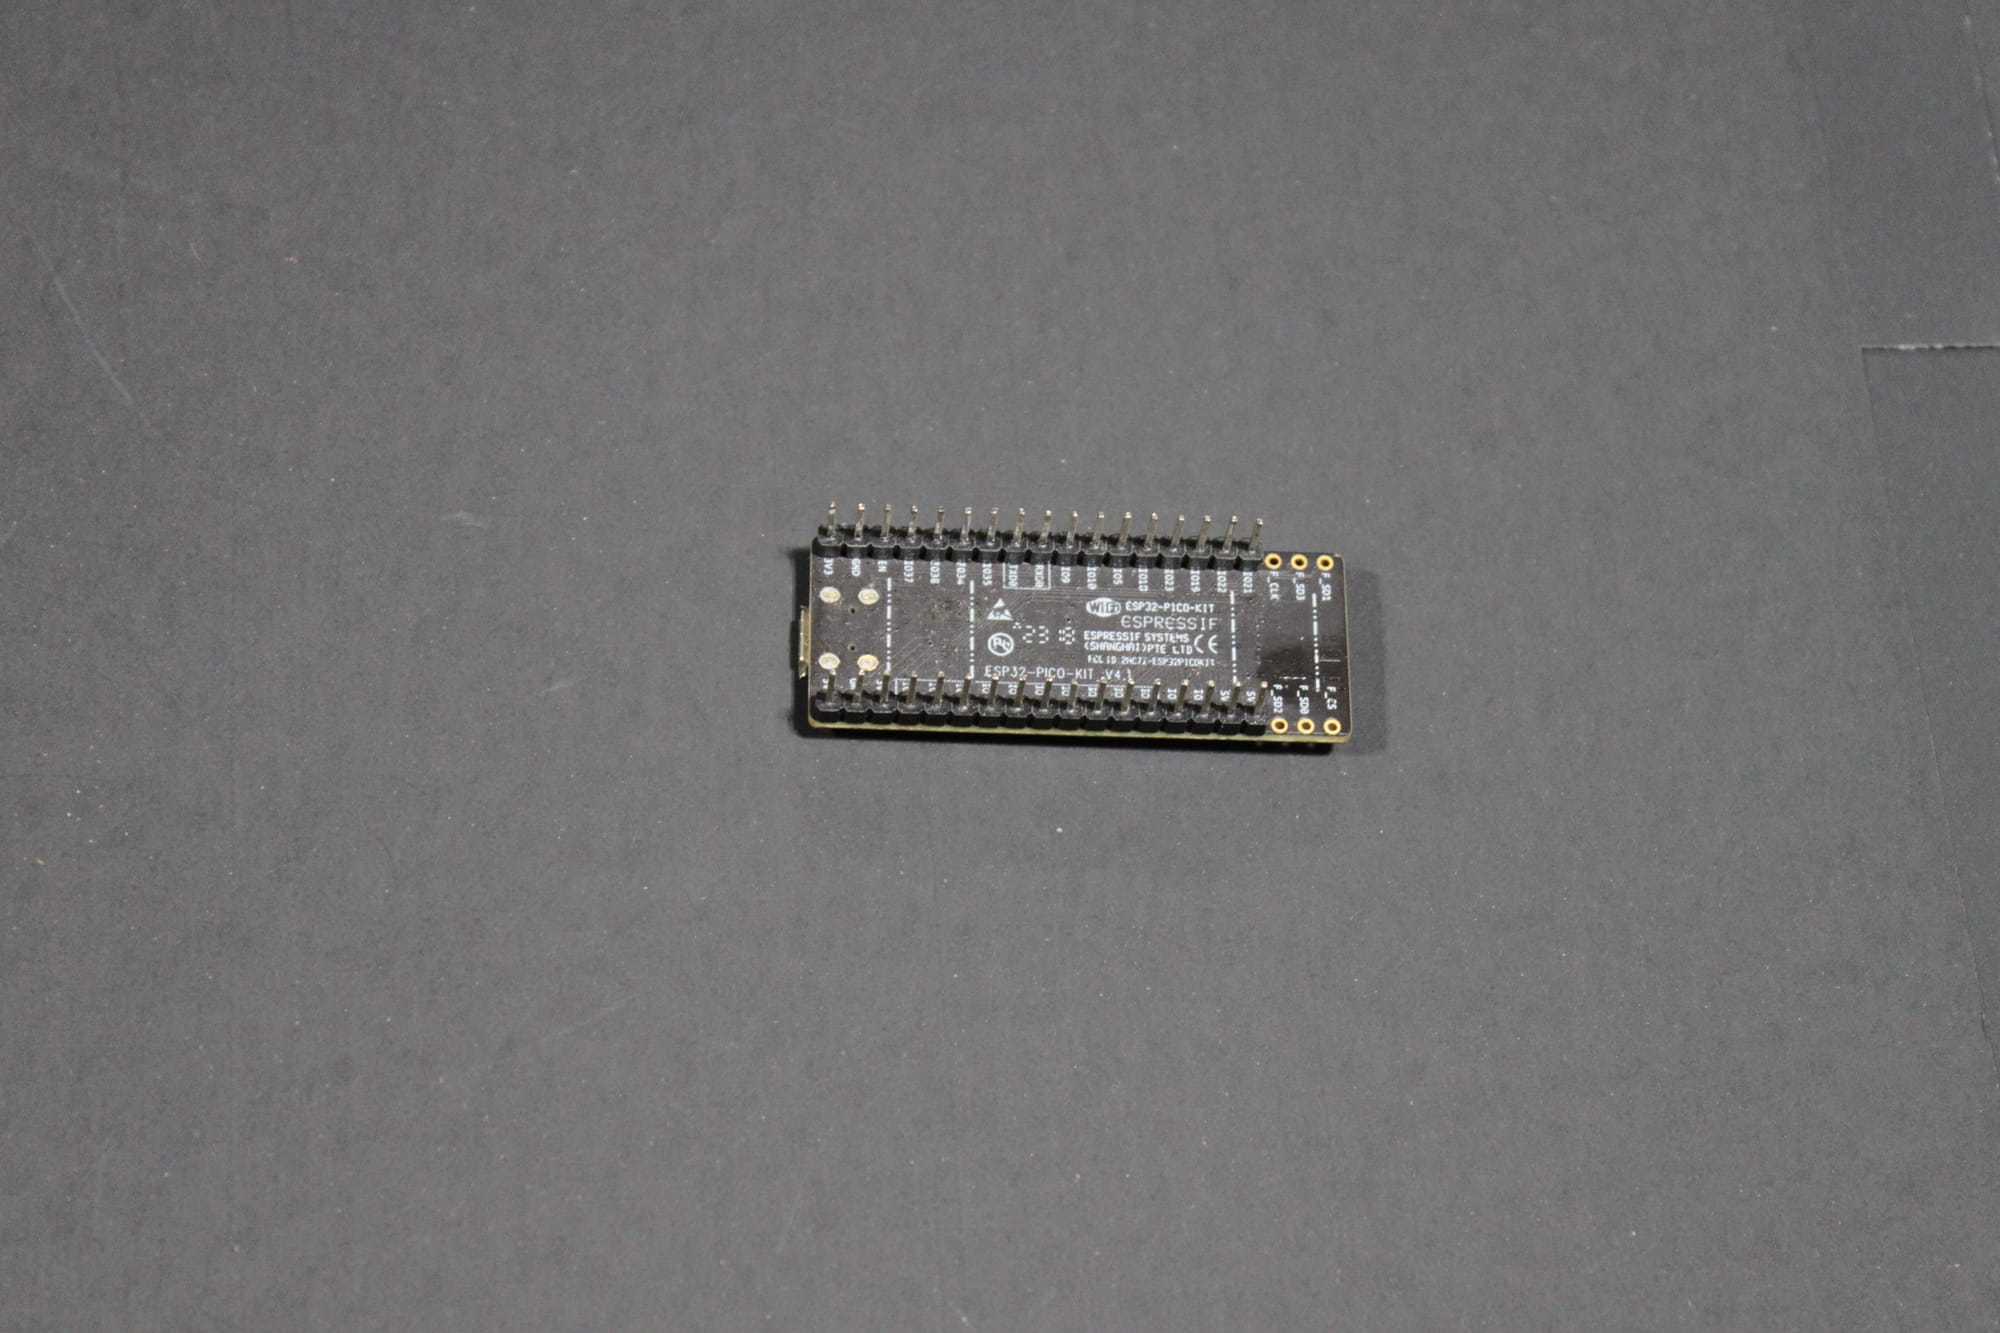
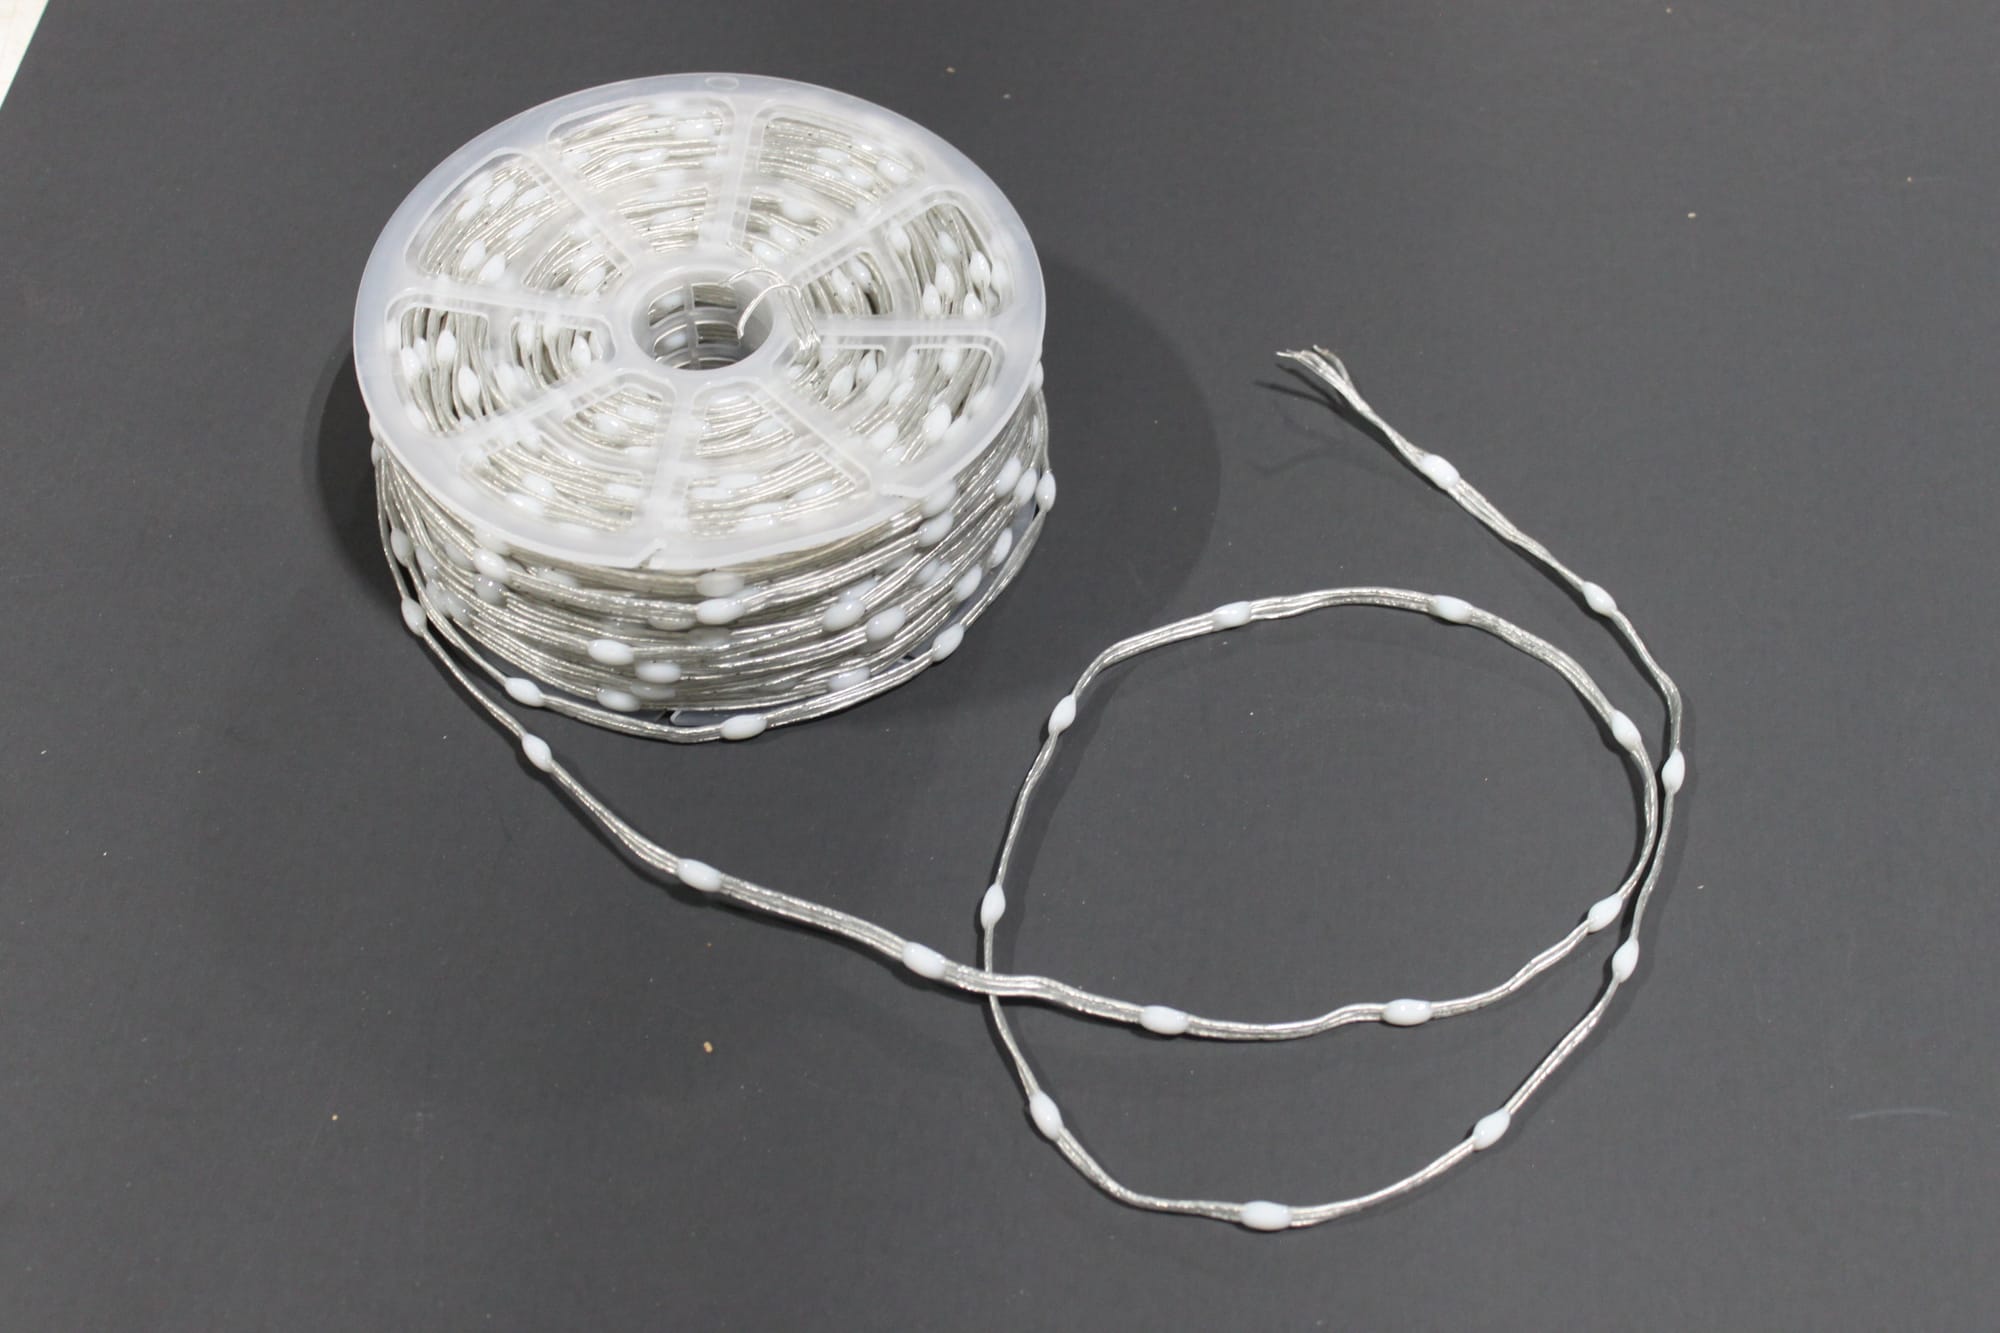
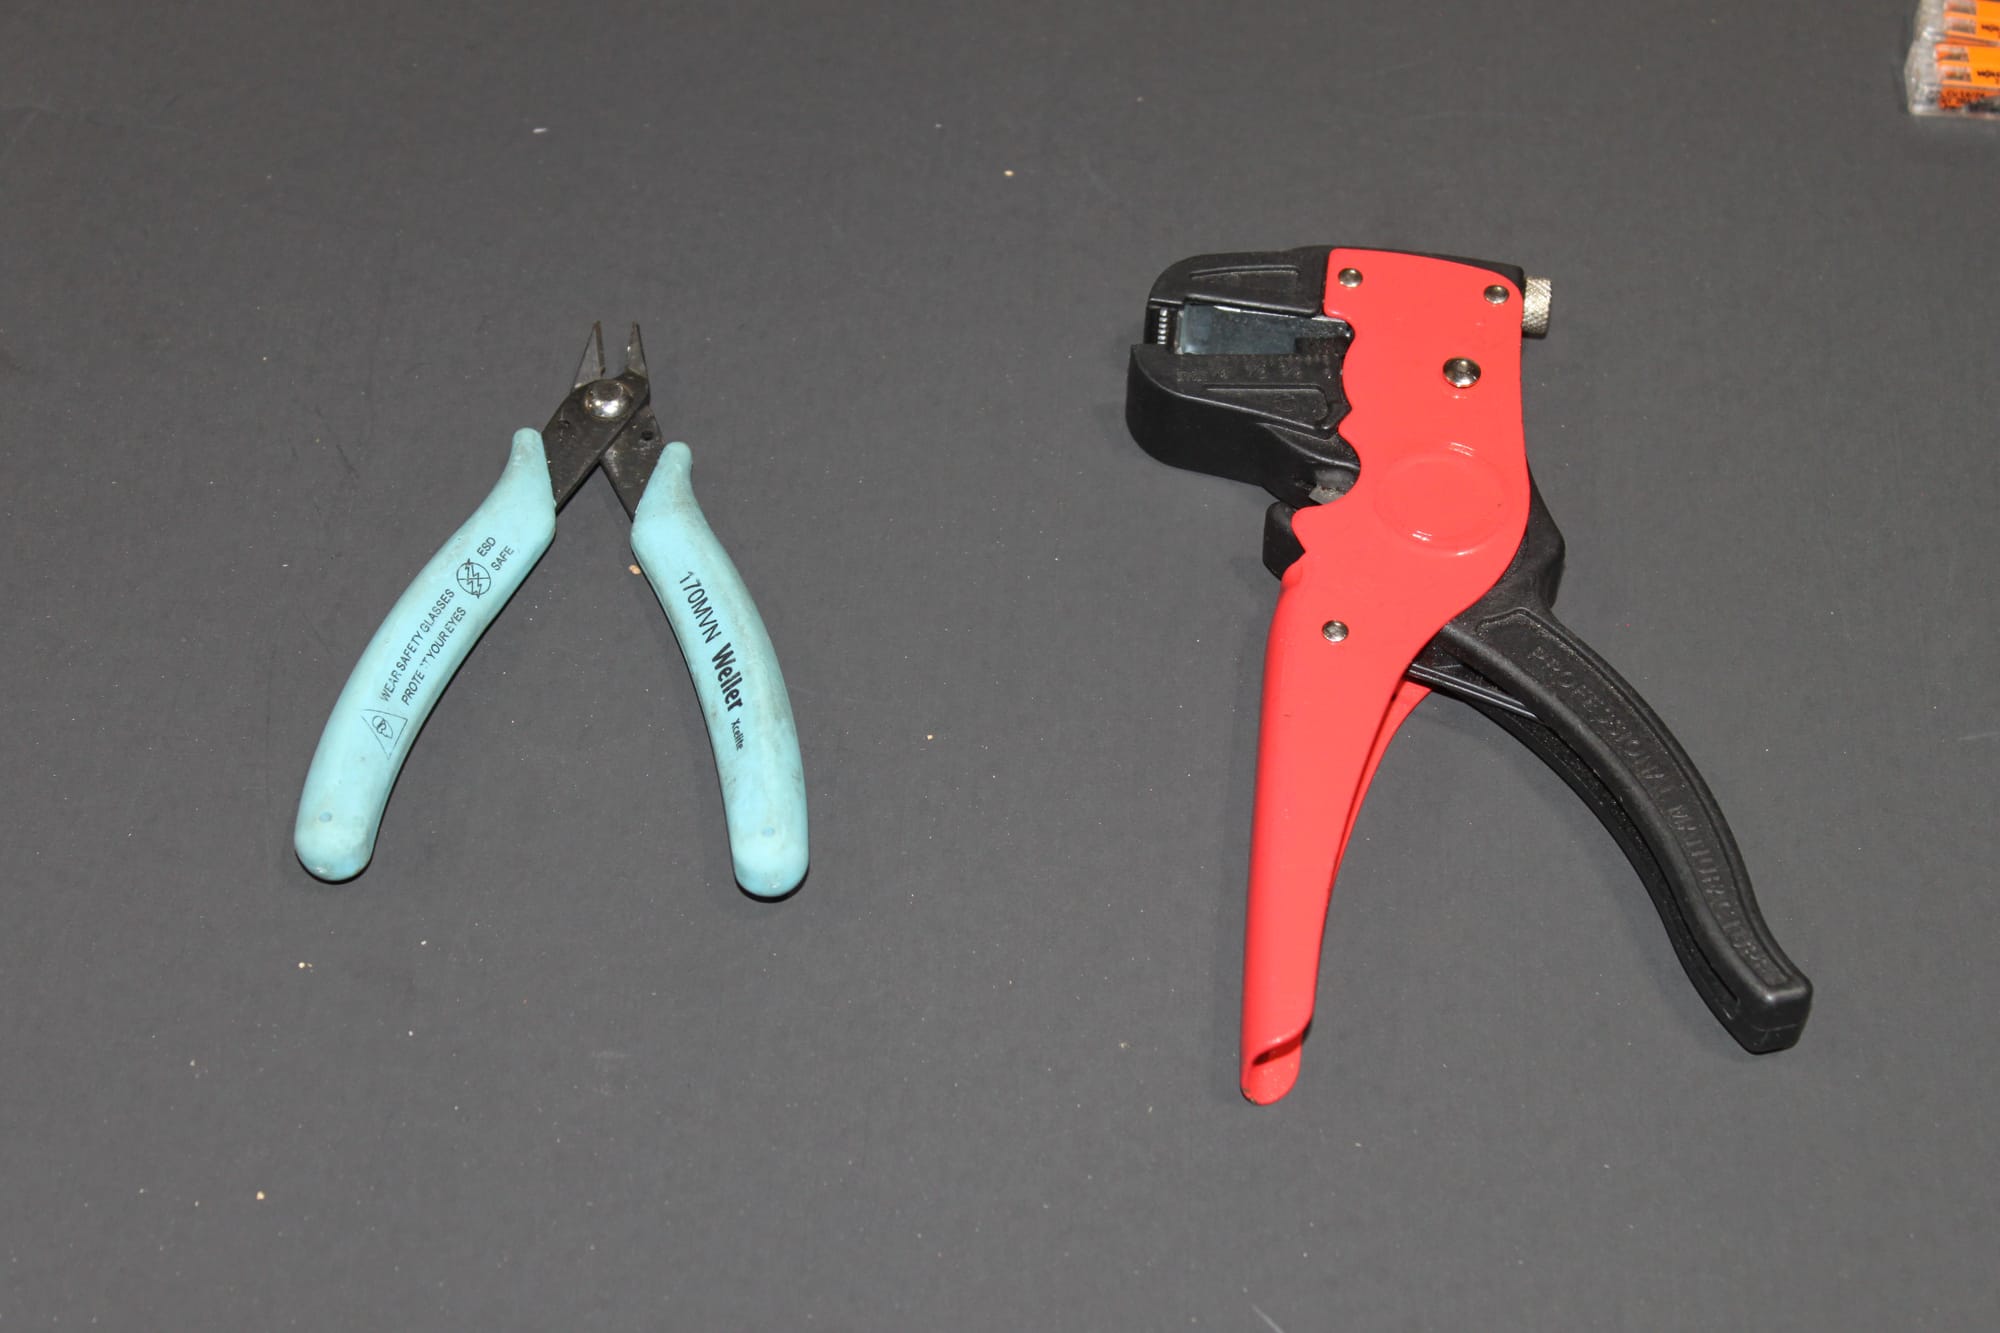
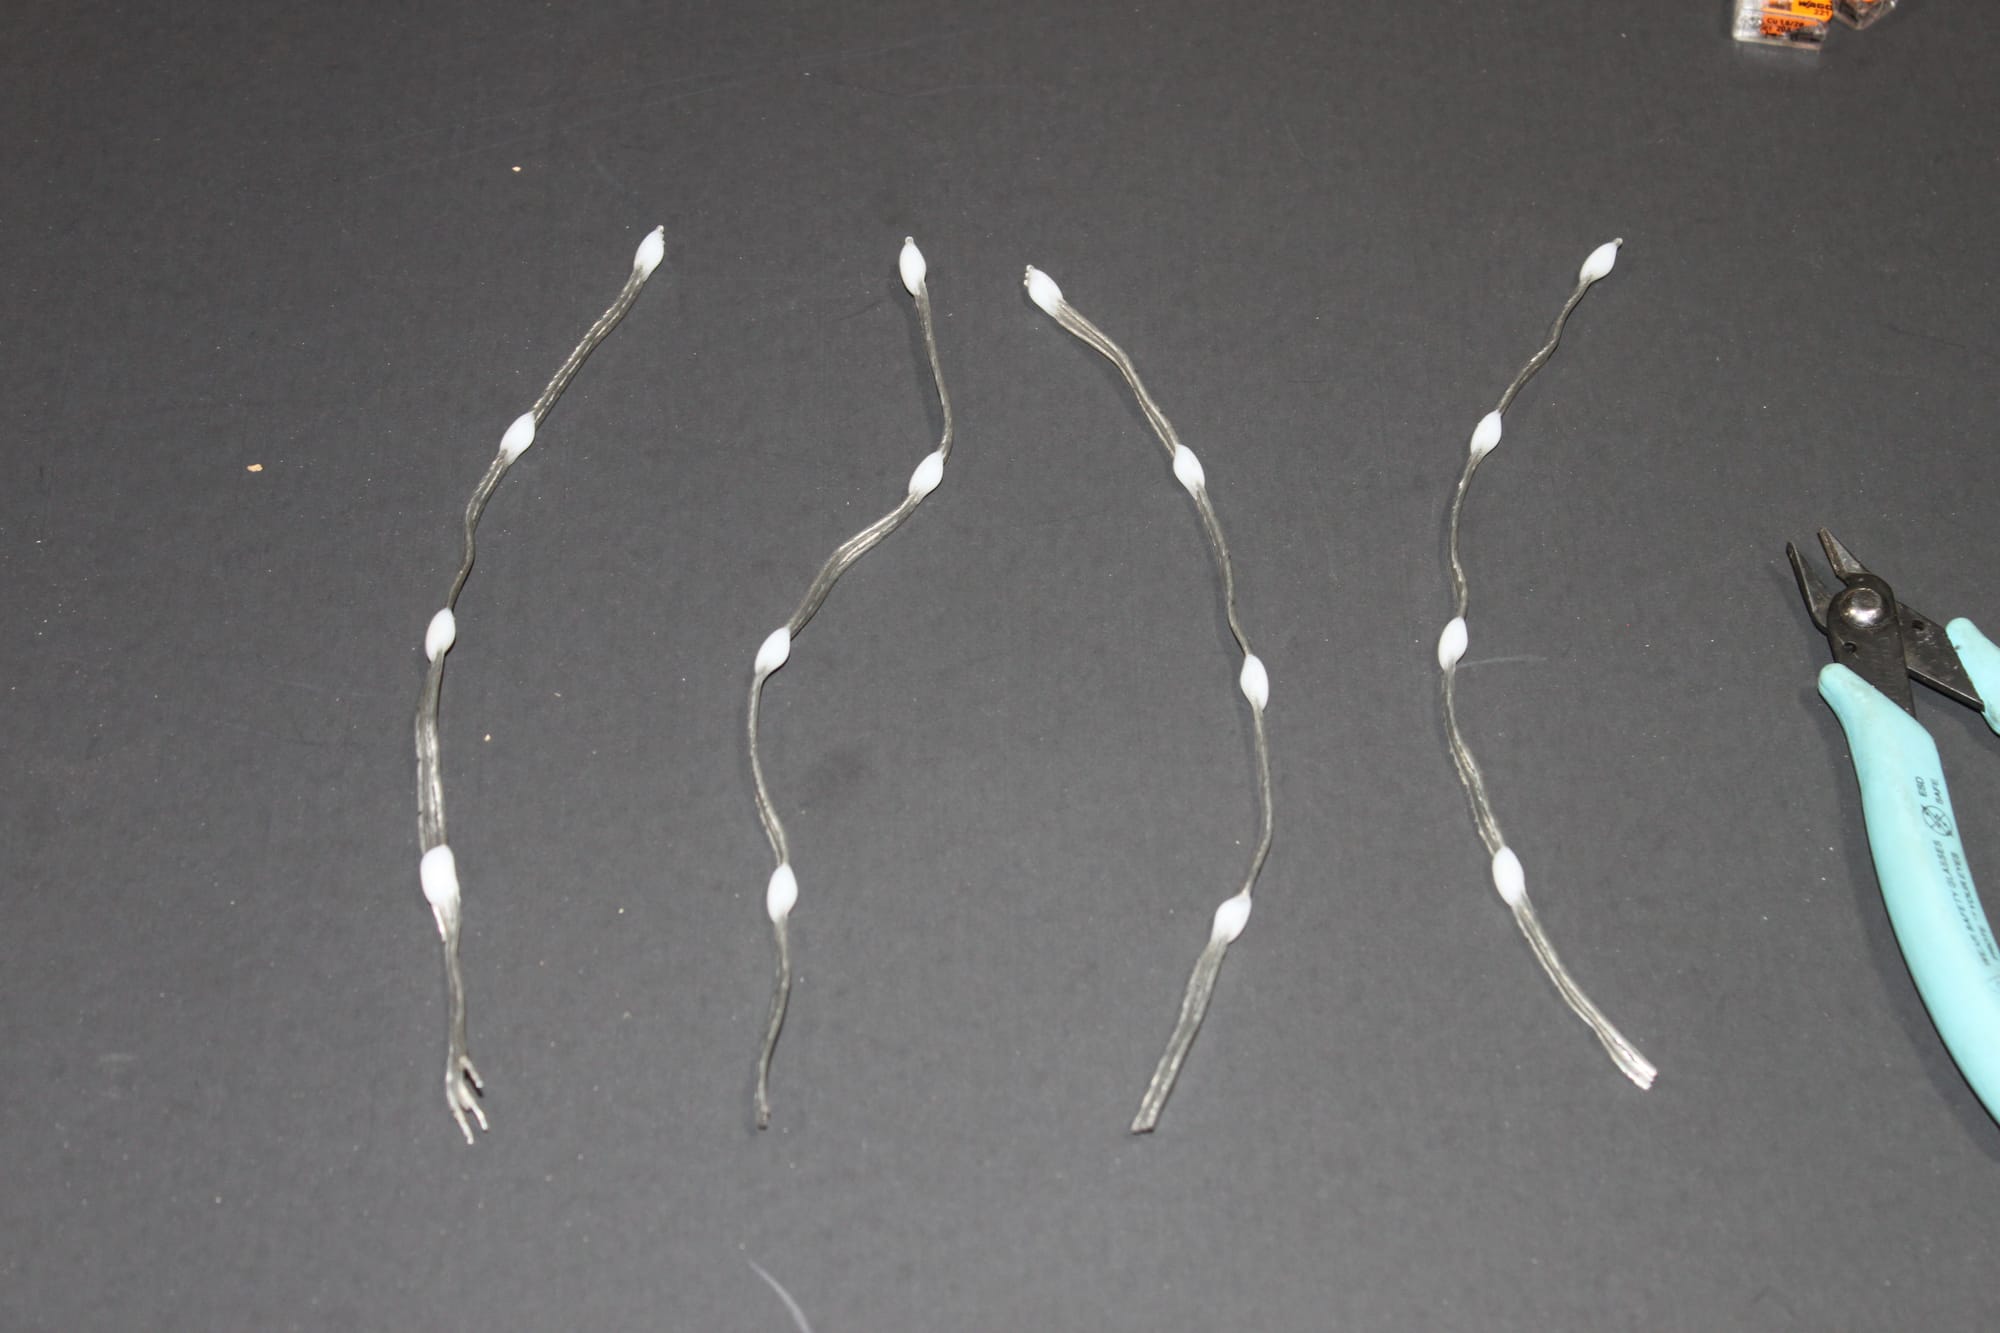
Cut the tentacles. Cut 3 or 4 lengths of 4-8 LEDs each. More LEDs might work; there is a limit to the number of LEDs one ESP32 Pico or C6 can support.
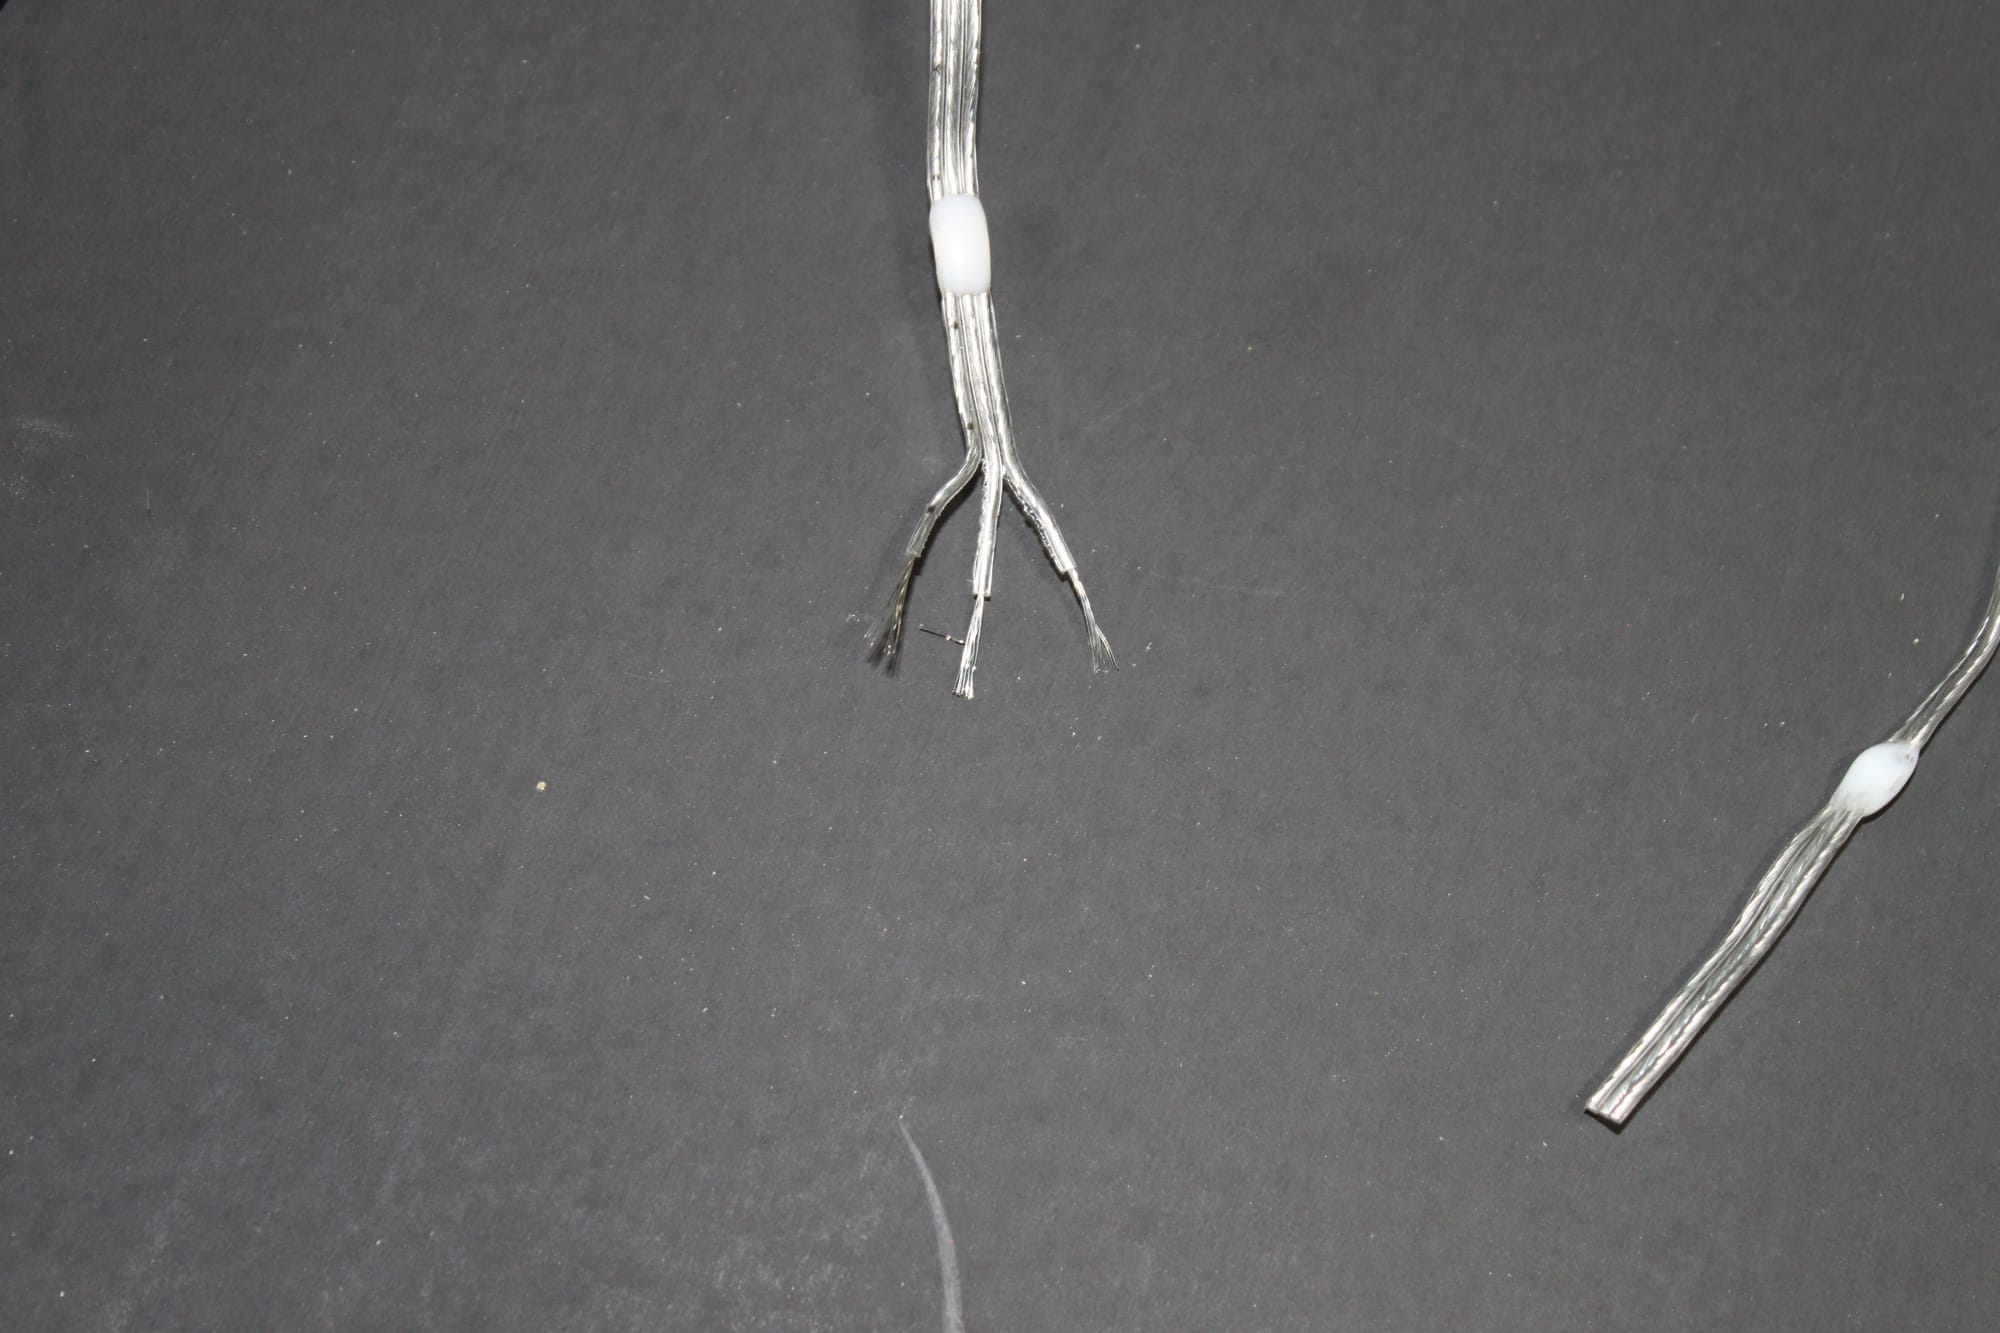
Strip the ends of the LEDs. The data line is in the center, the +5V power line is the one with black tick marks (check your datasheet or box label if unsure). The remaining lead is the ground line.
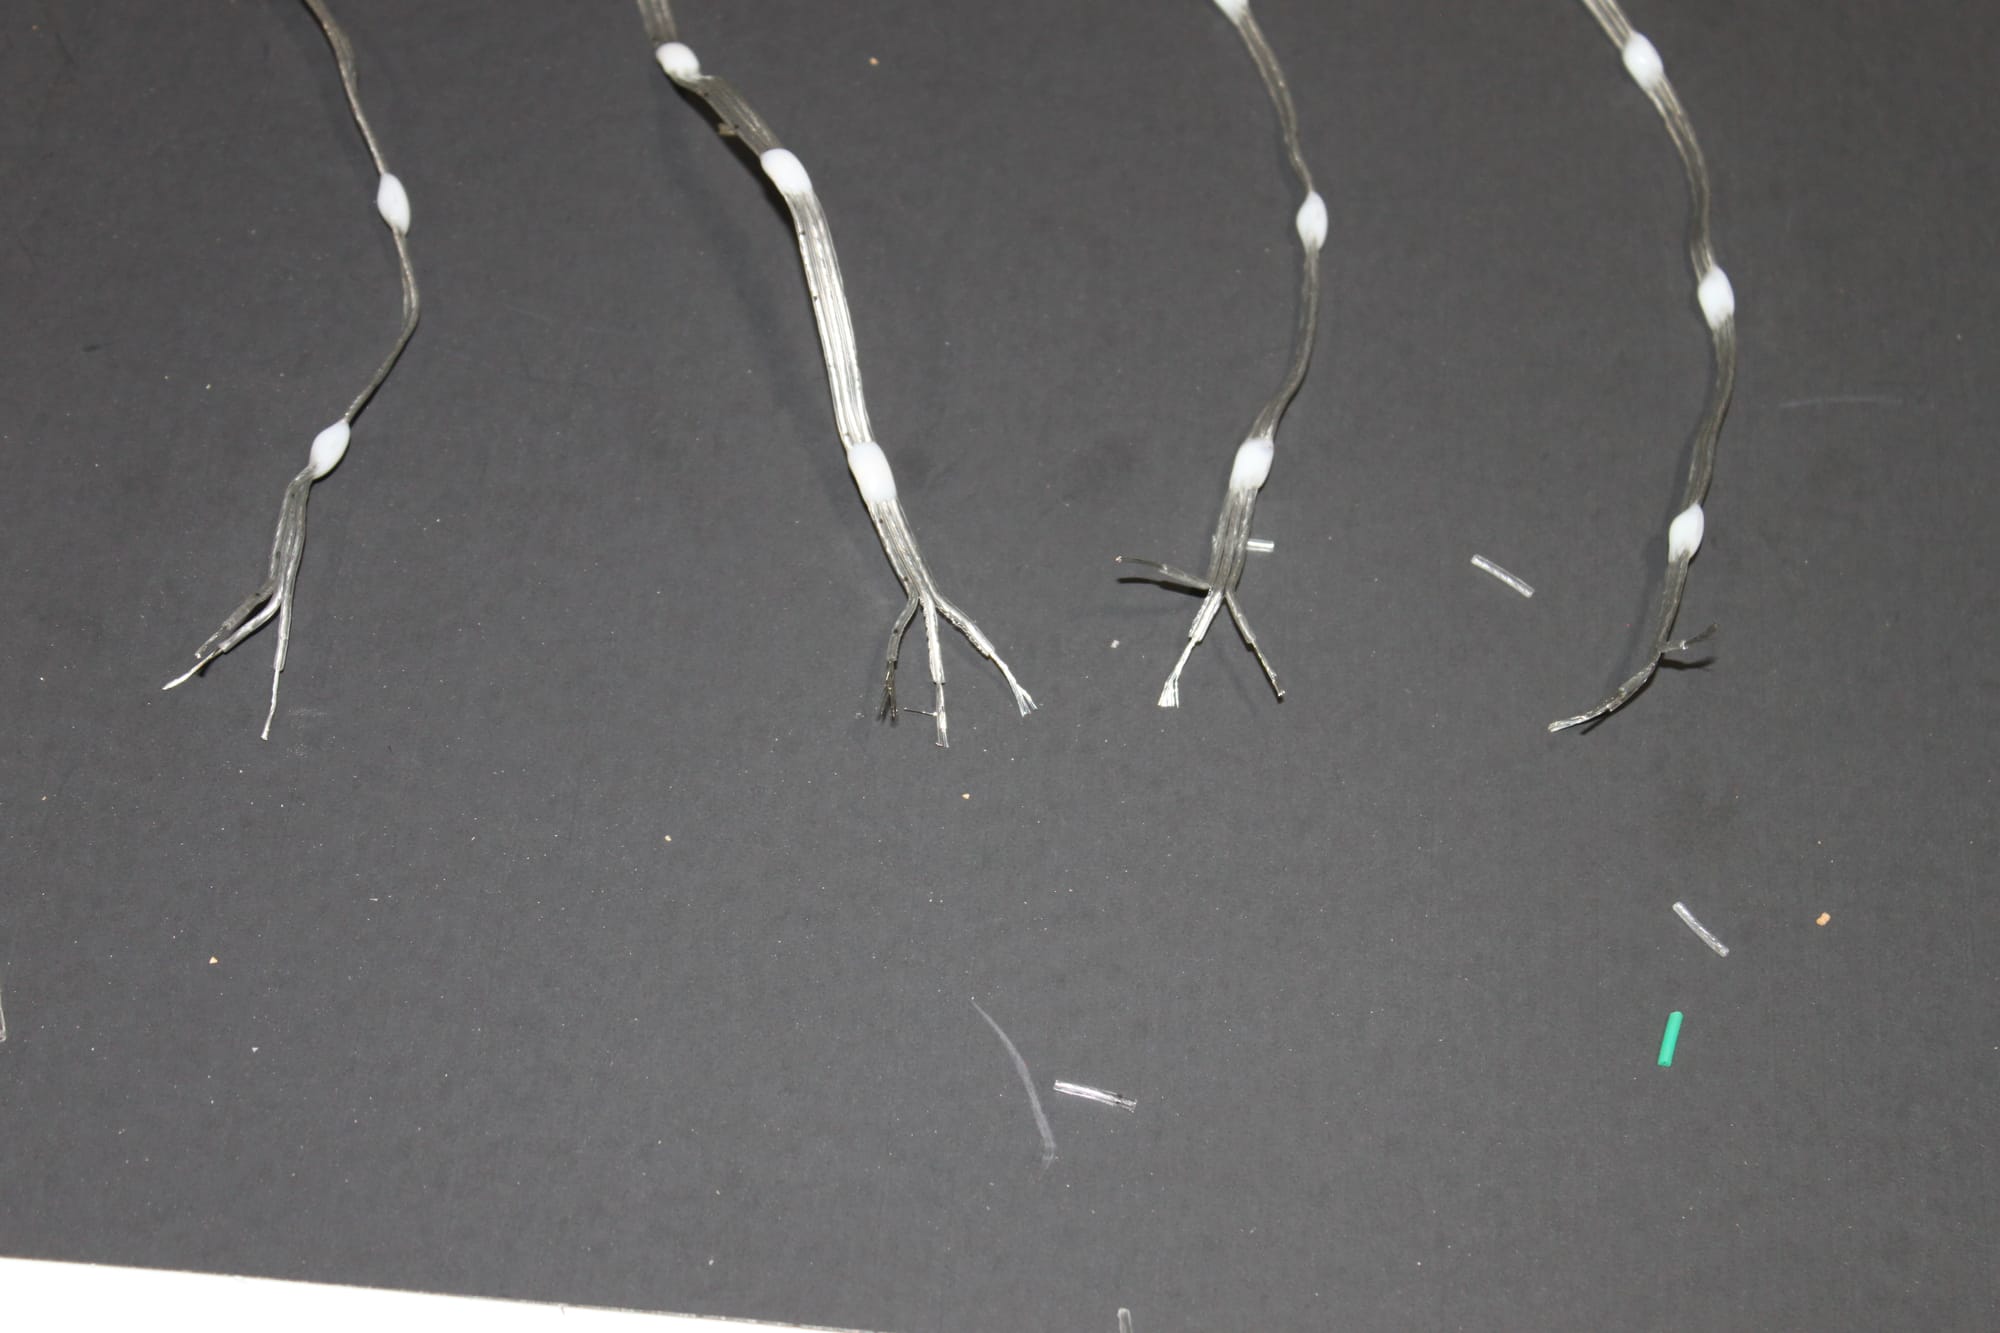
Twist all the wires from all legs for each line–data, +5V, GND–together. Add a dab of solder (optional) on each of the three twisted wires to lock them together.
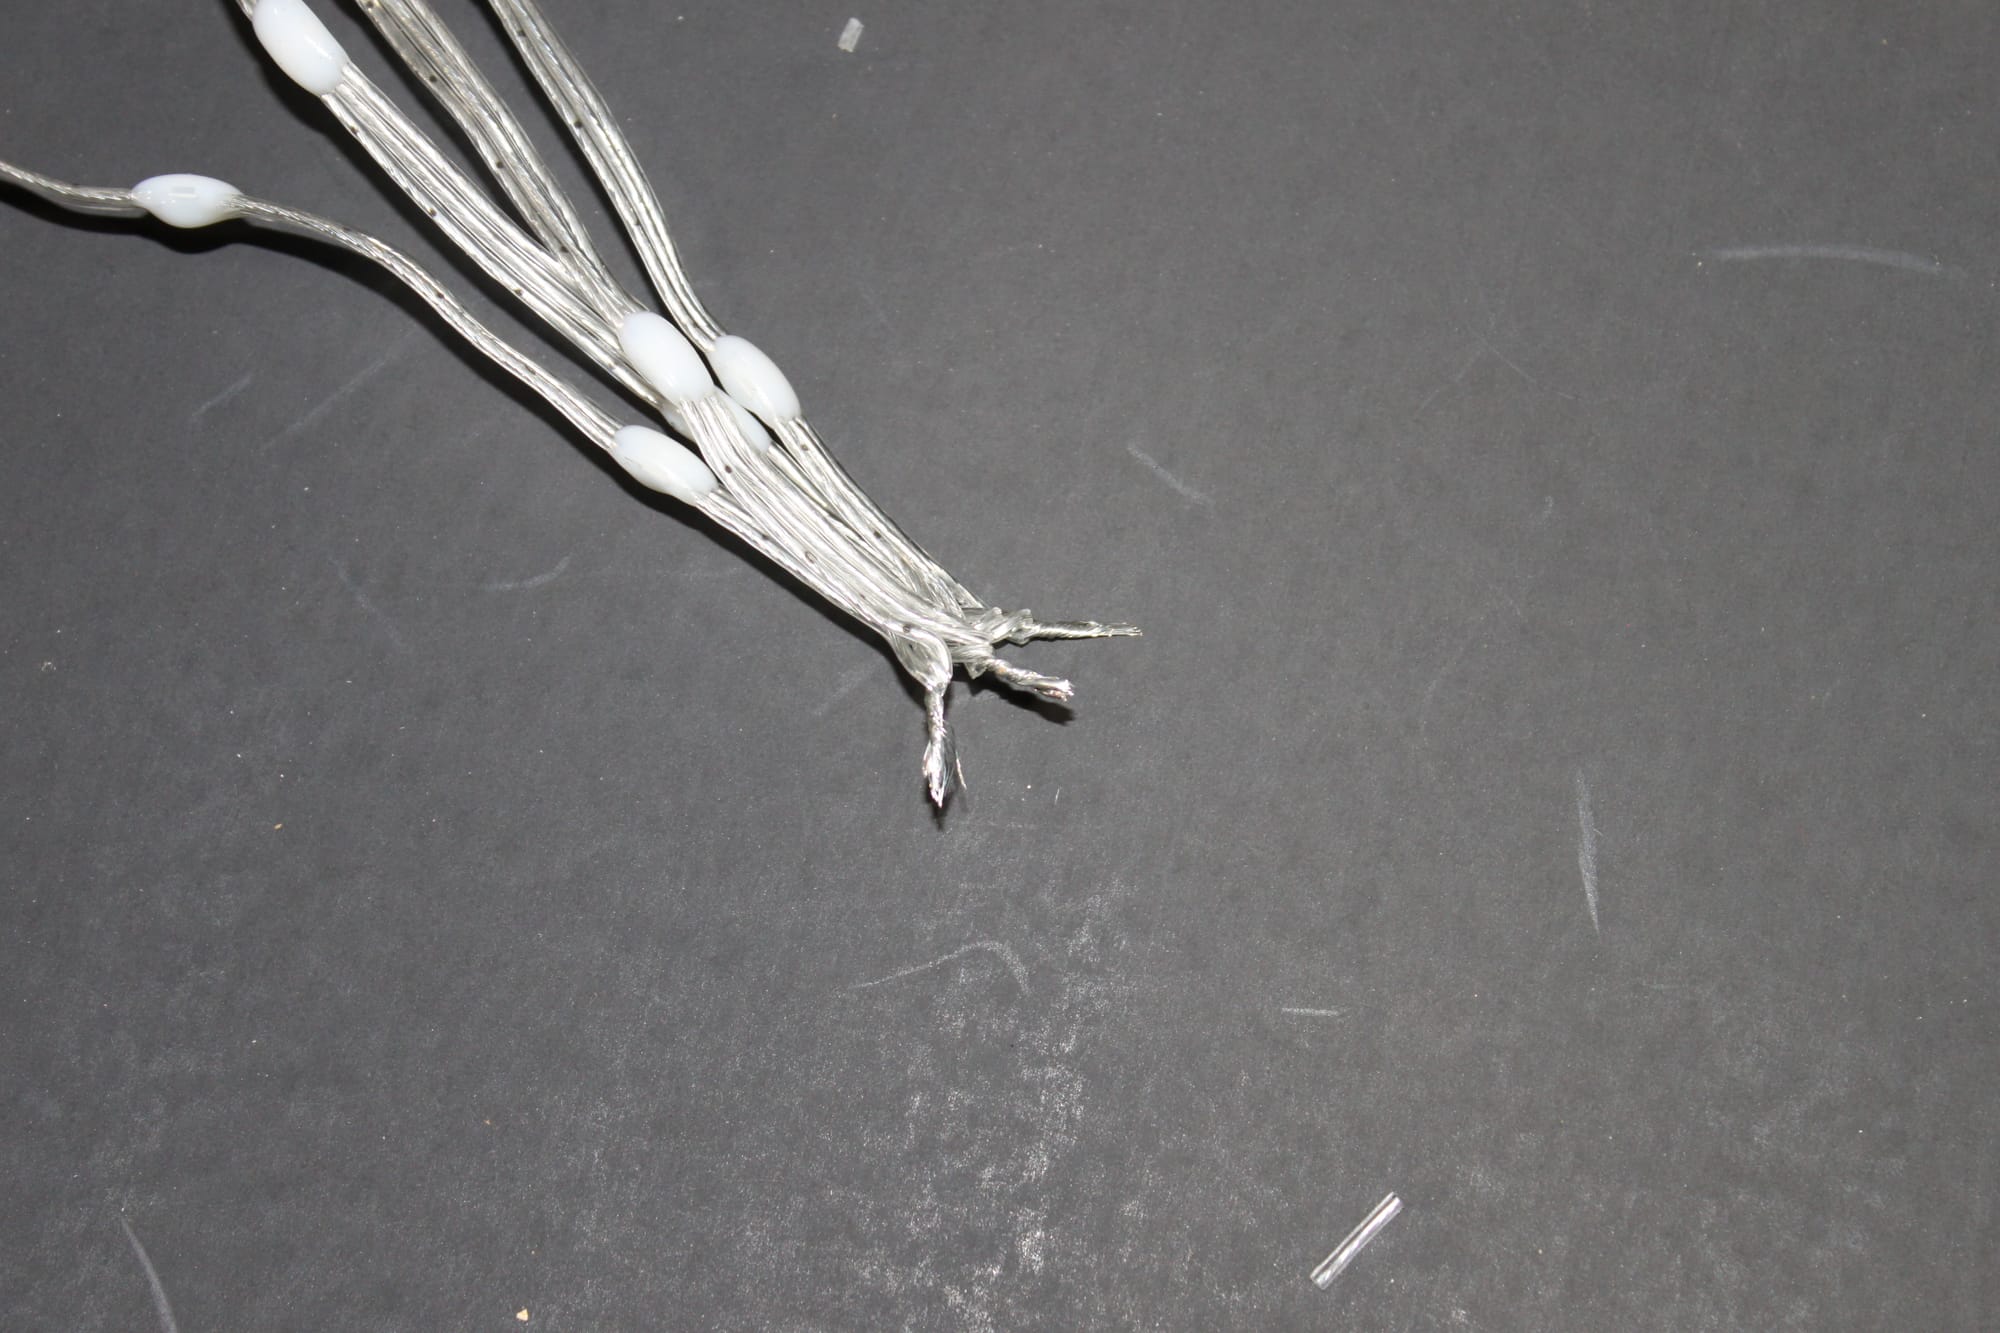
If there is a lot of bare wire exposed, slip insulation sleeves over the bare wires. Cut to a length such that the ends are exposed but the rest is not.
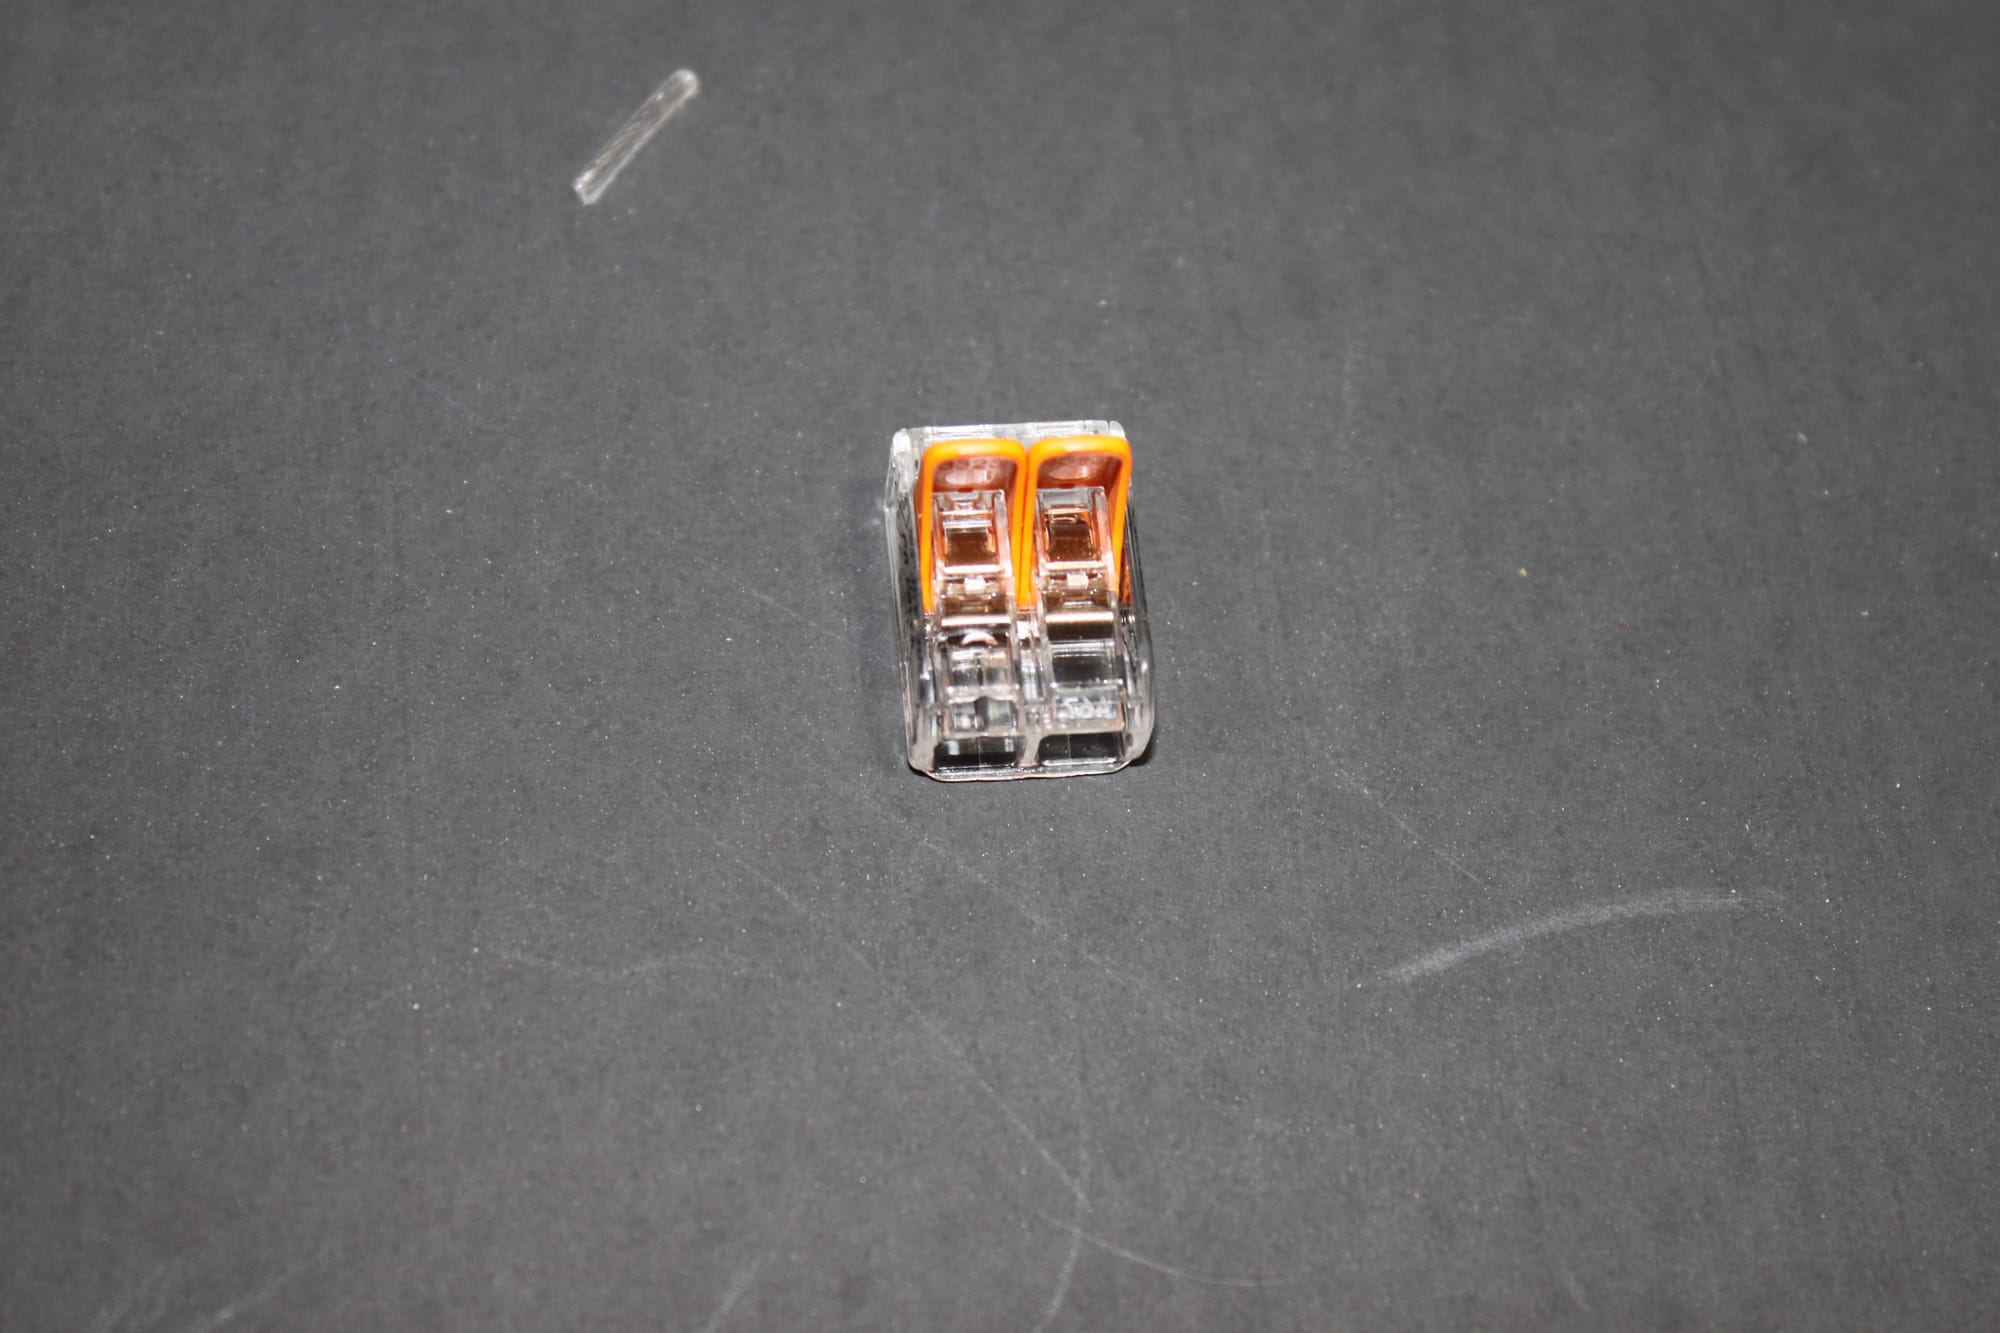
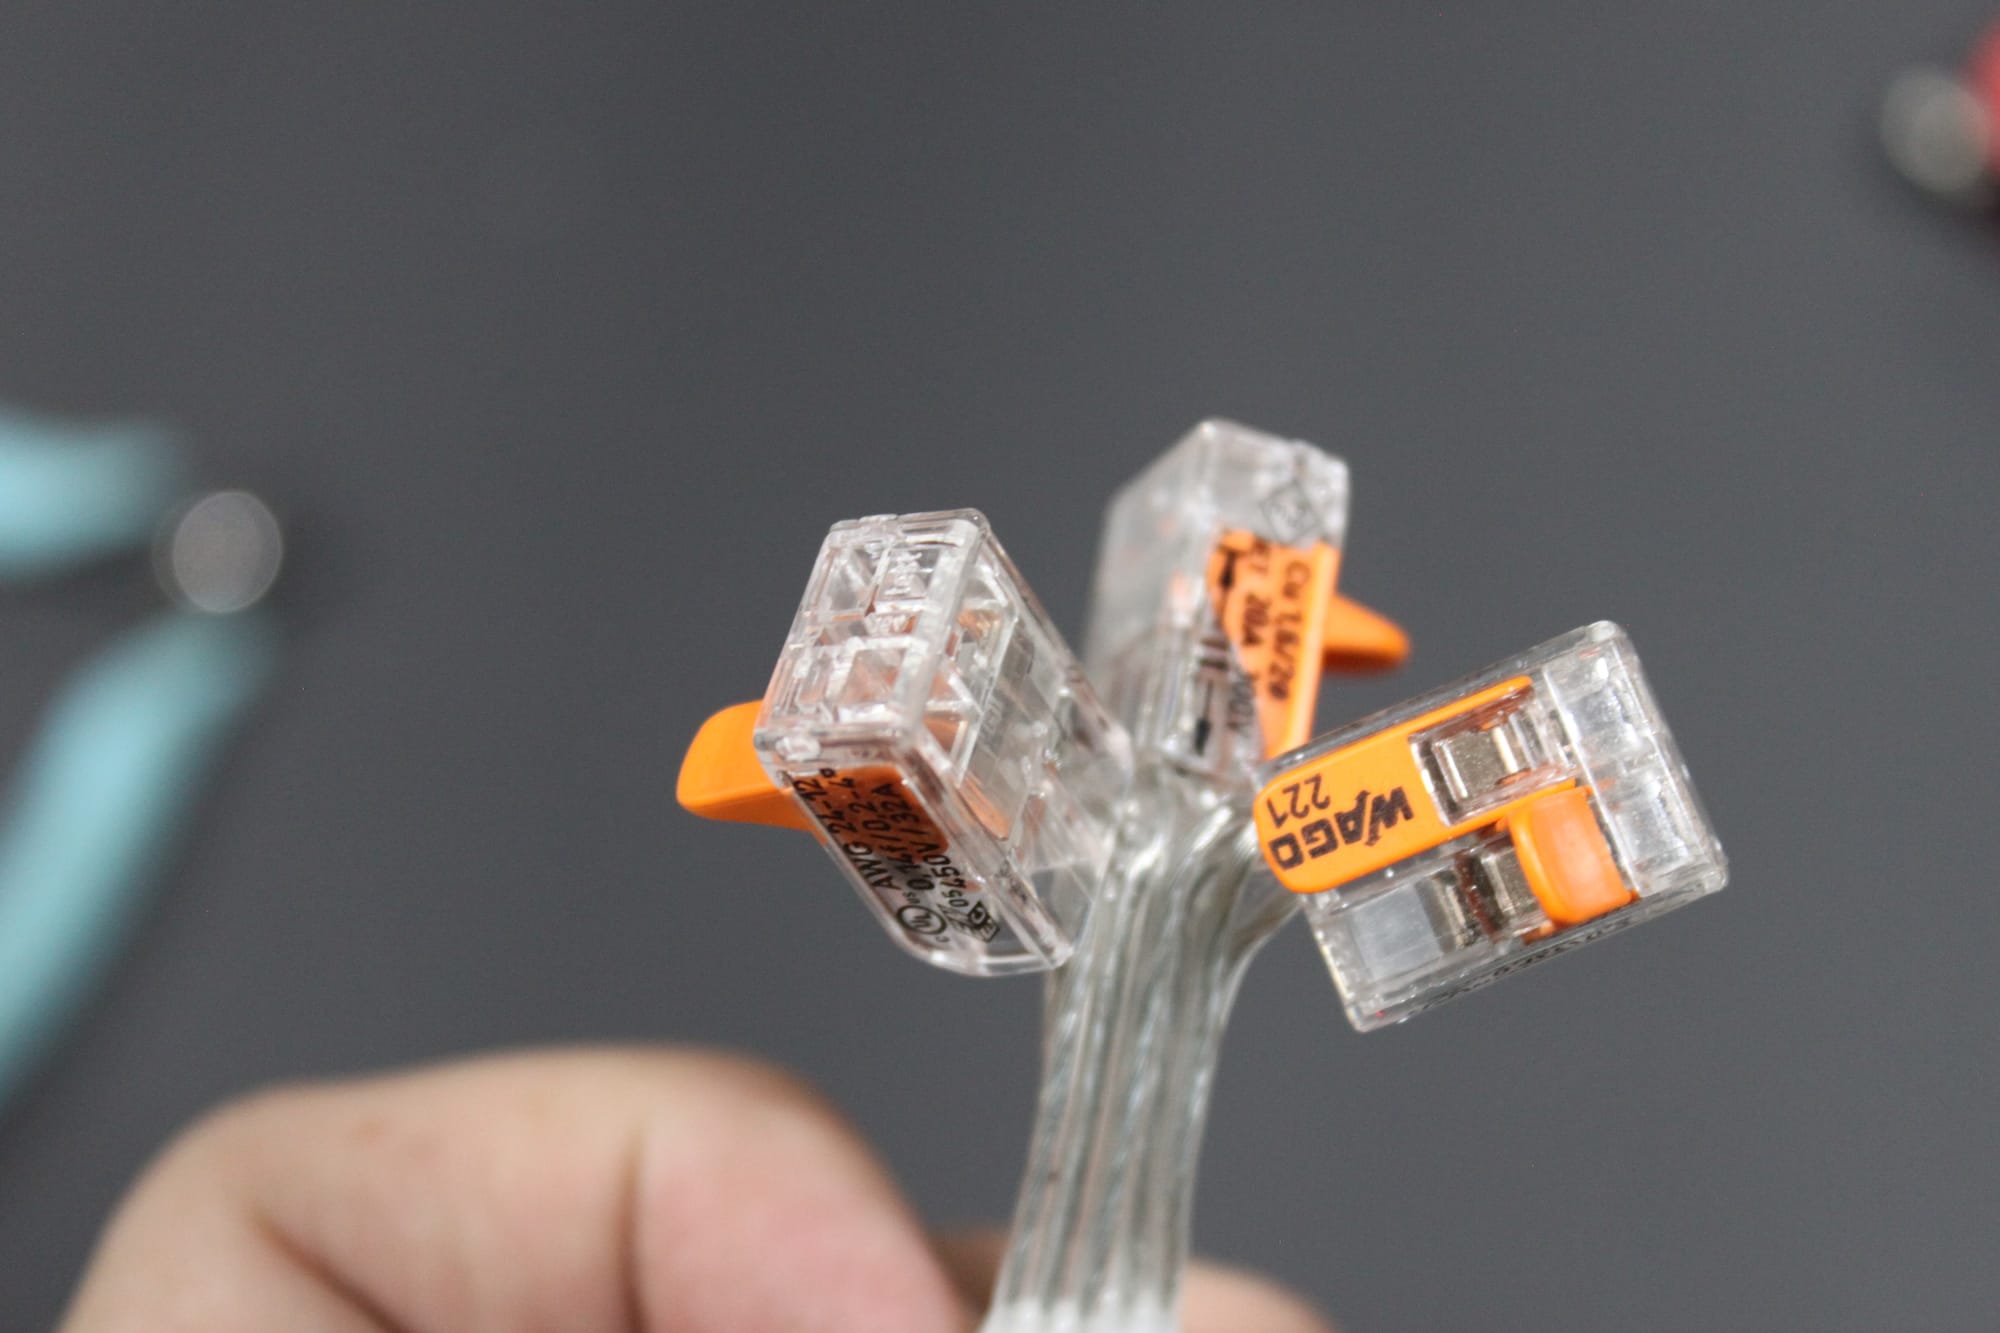
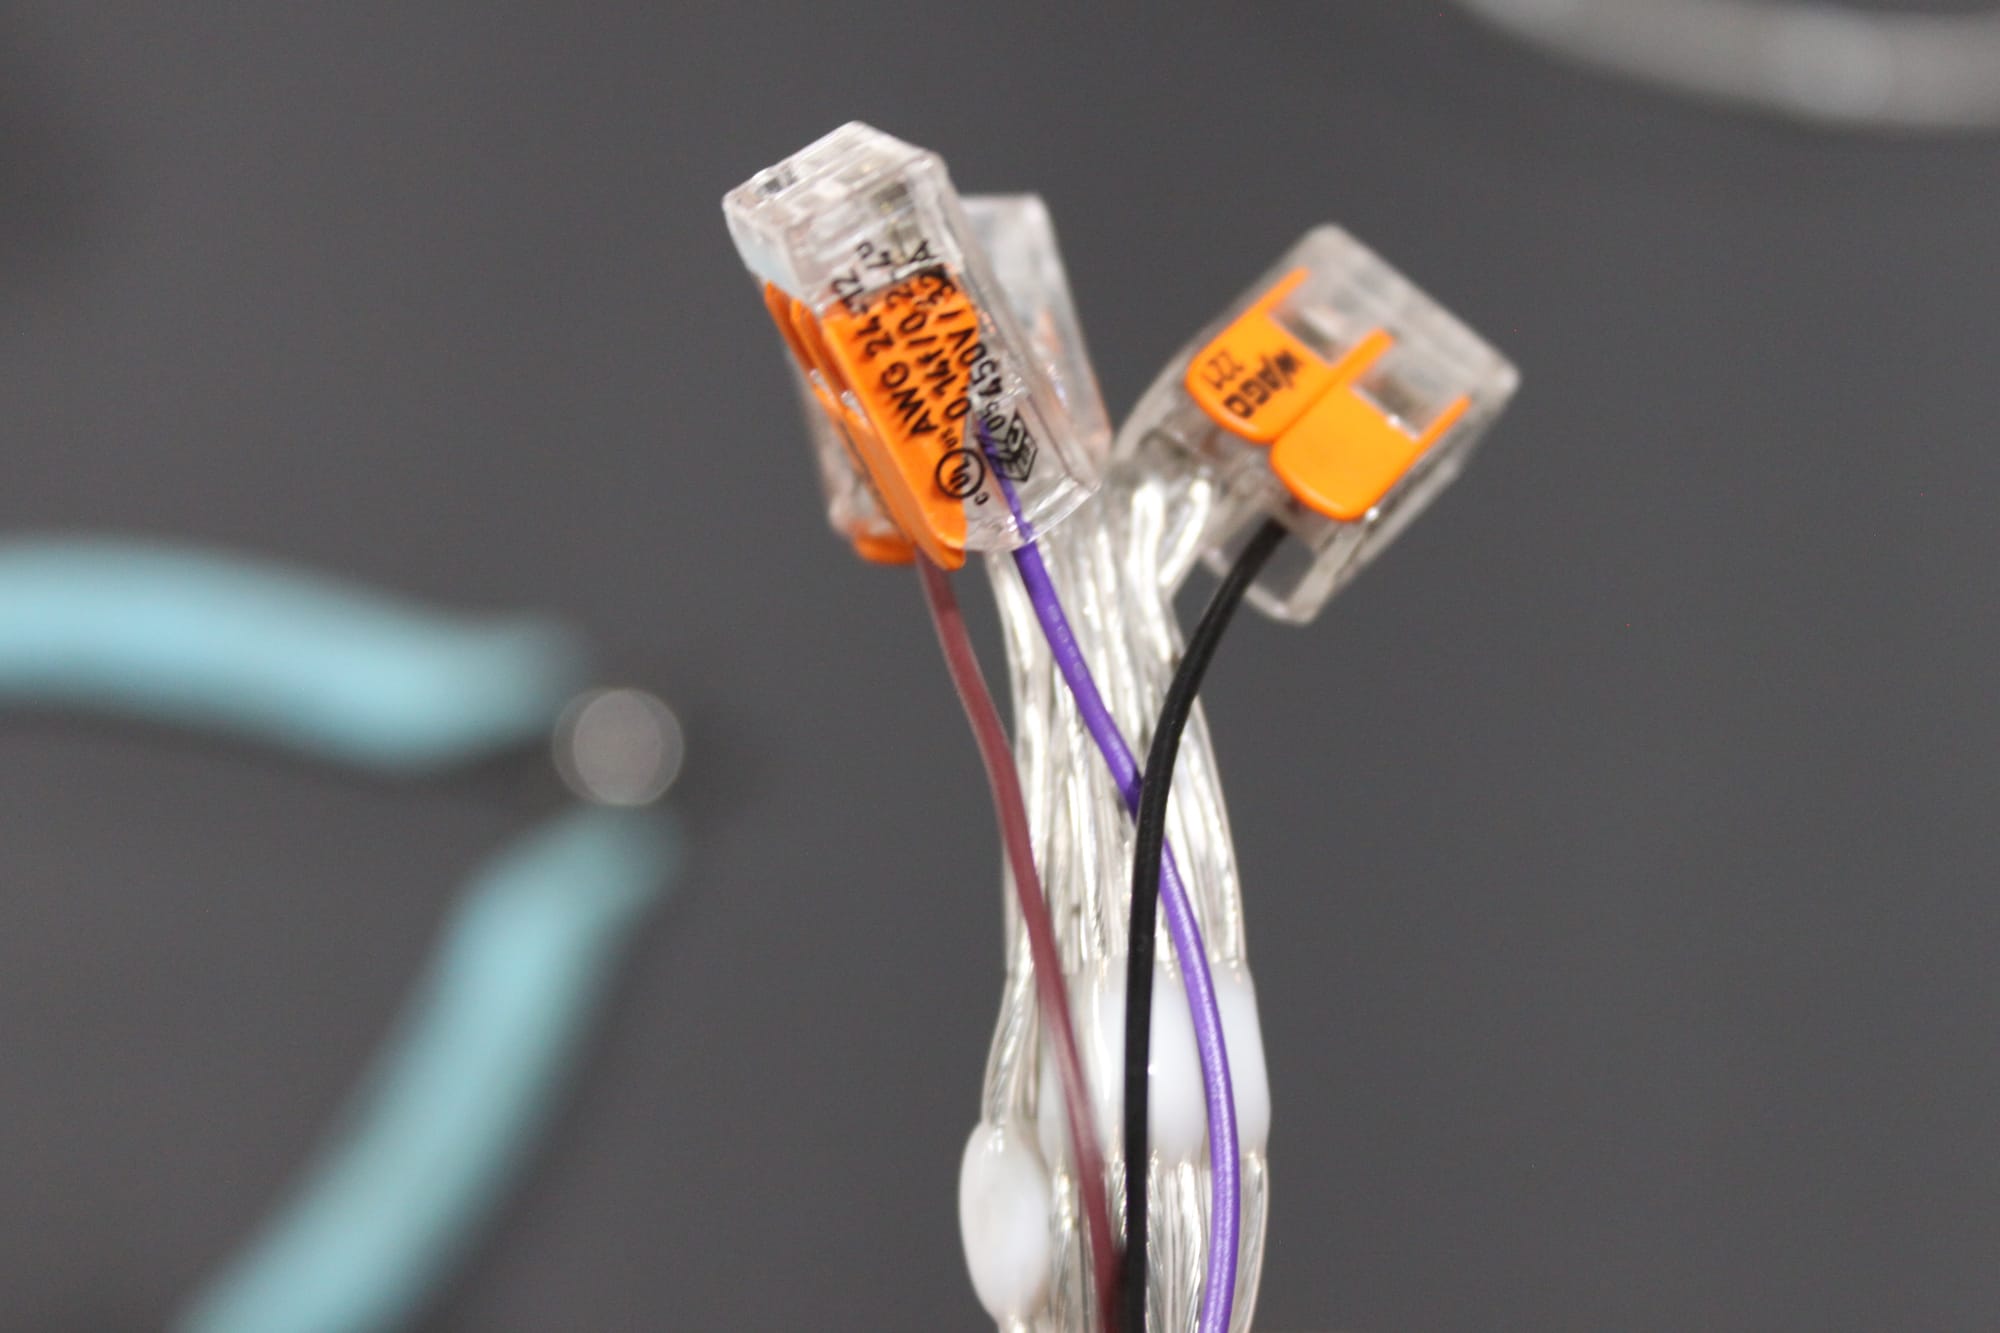
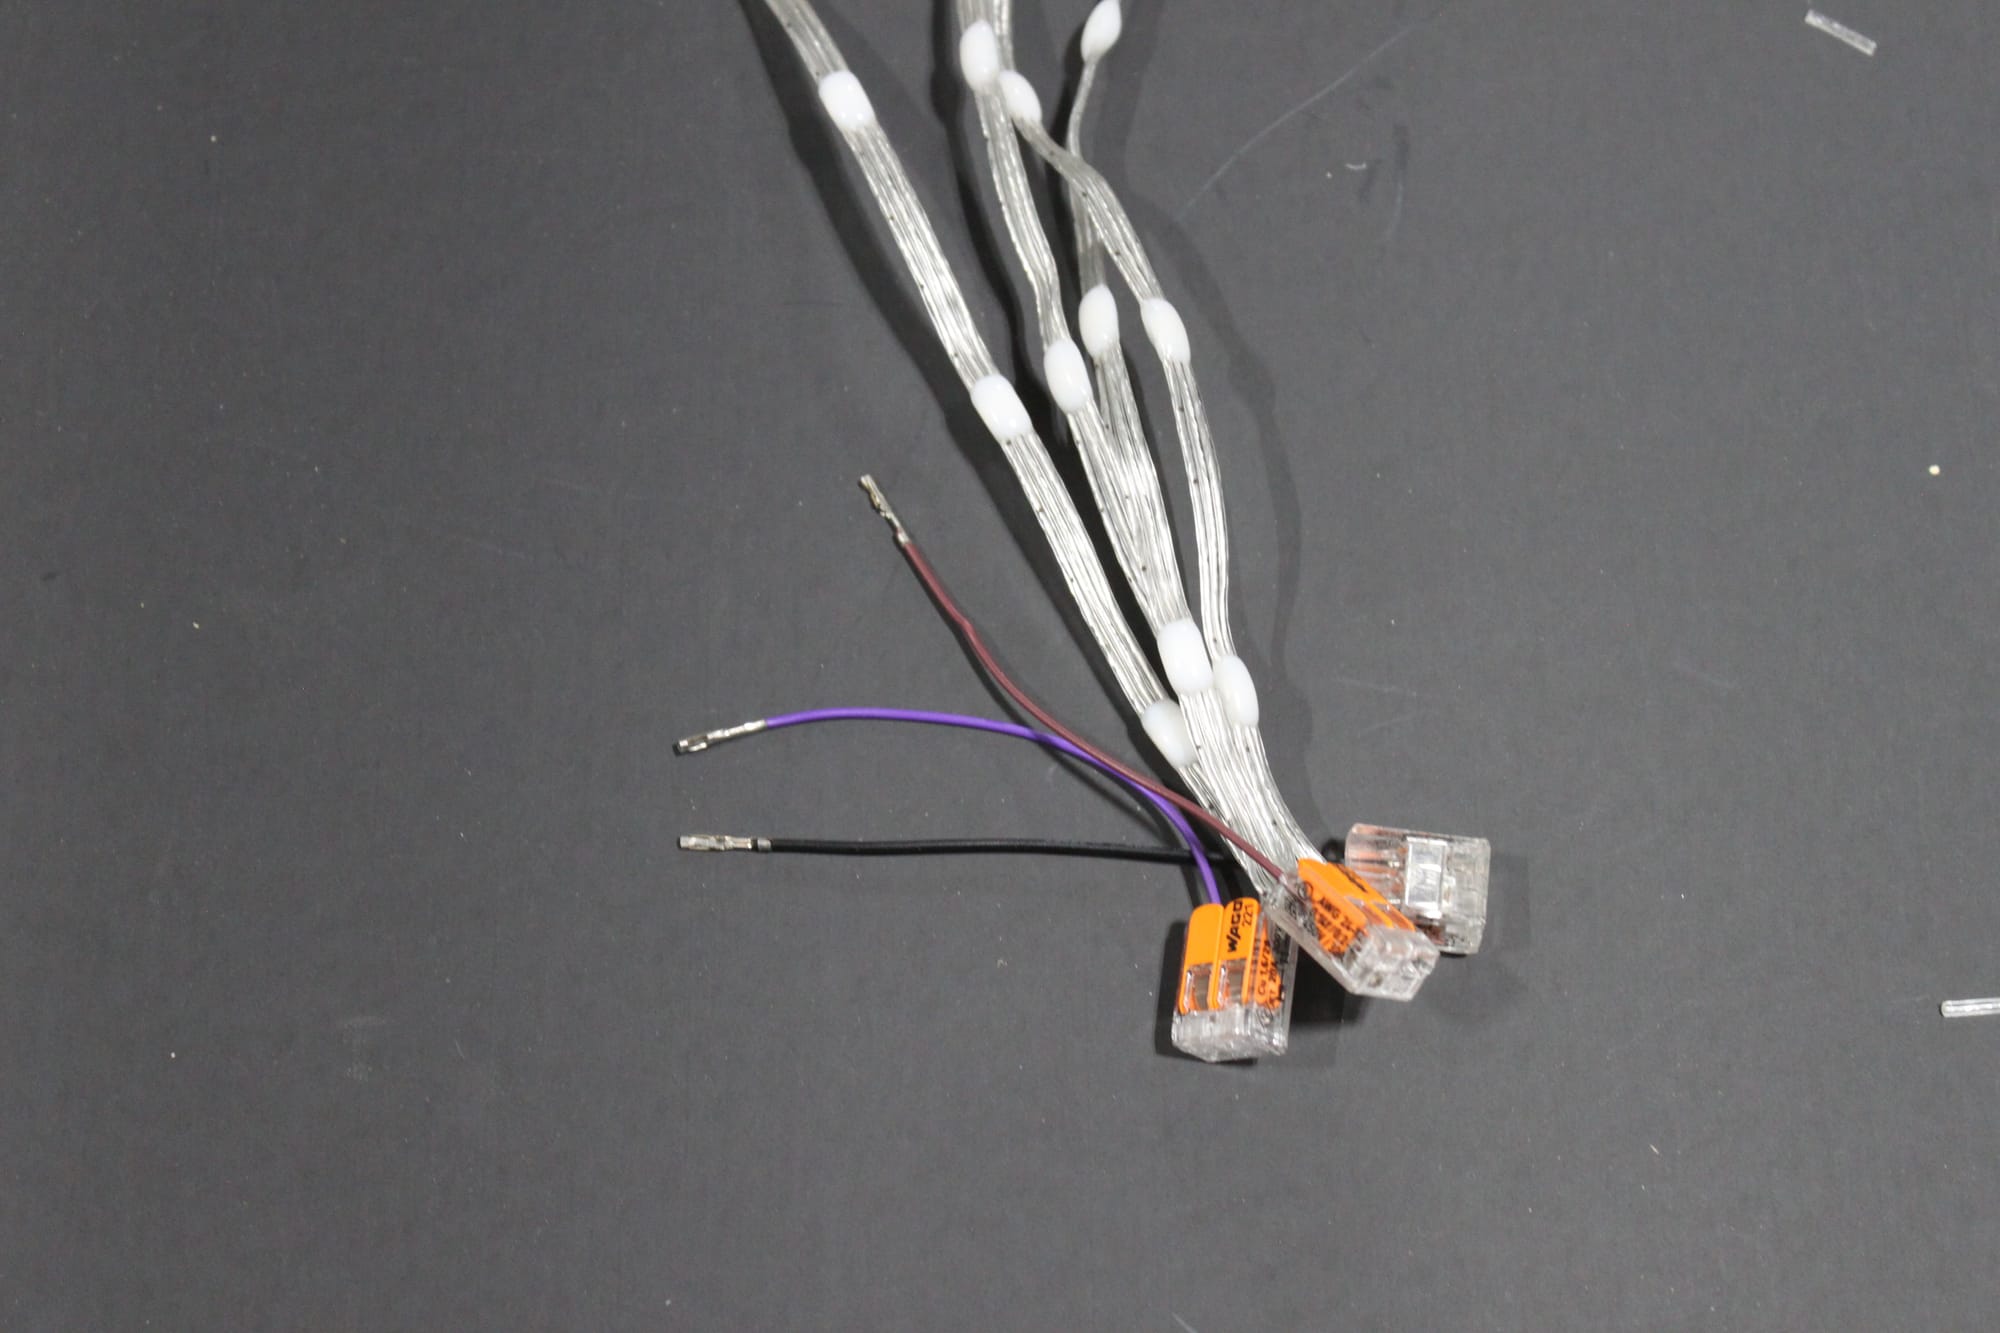
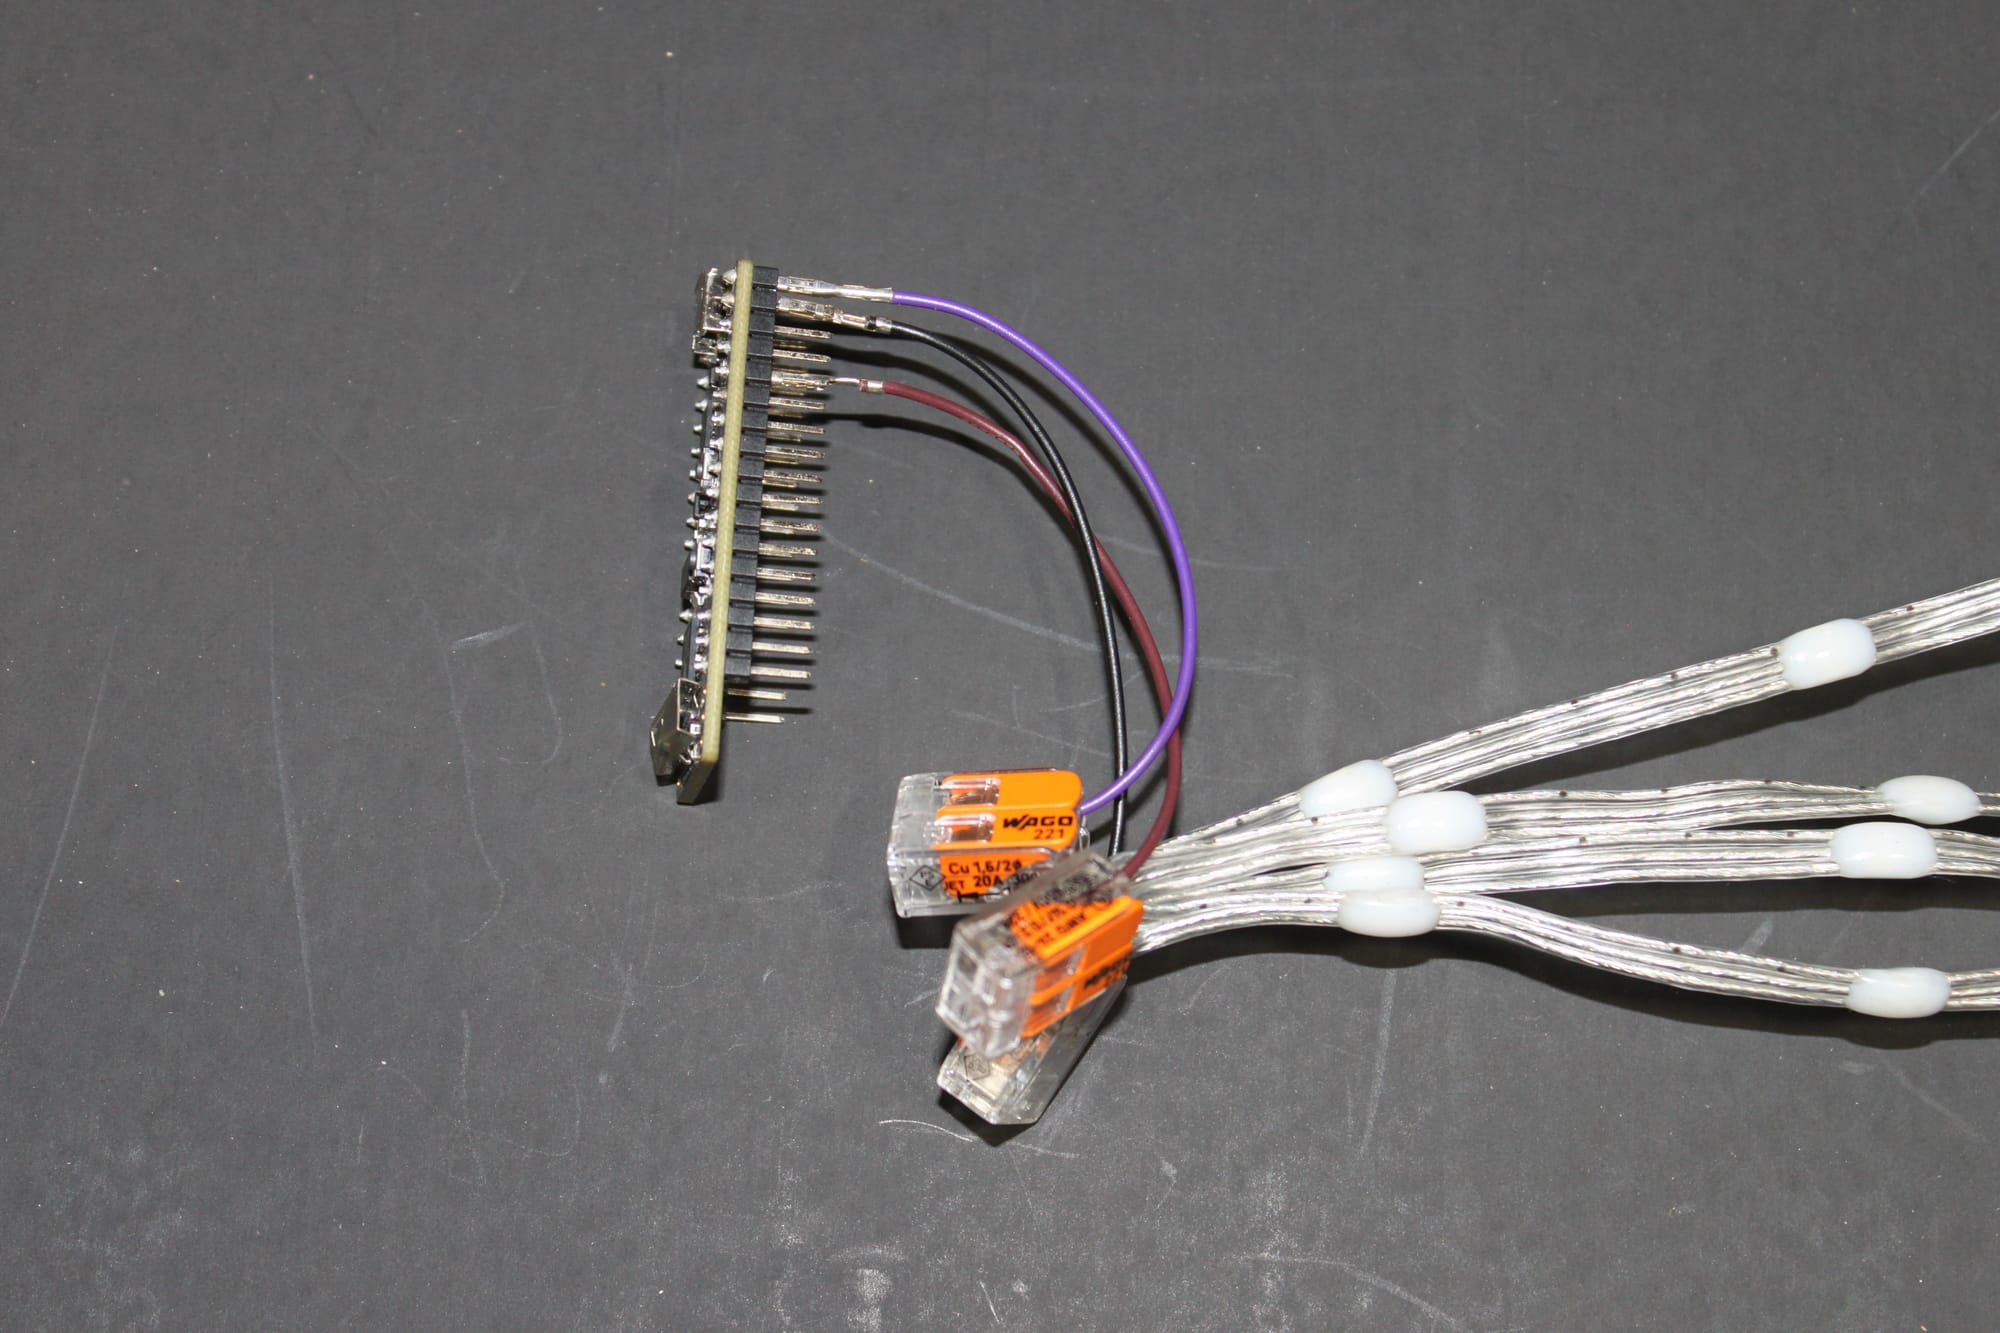
Connect the WAGOs to the three twisted wires. Connect Dupont connectors to the other side of each WAGO. Connect to +5, GND and IO4 on the microcontroller. The power and ground cannot be reversed without damaging the microcontroller. Check again before powering on.
Connect ESP32 to the computer using the USB cable. Use Arduino IDE or VSCode/Codium or similar to program and upload the sketch. The author uses VSCodium and PlatformIO. Download the PlatformIO plugin in VSCode. Use the "Build and Upload" command to build and push to the device.
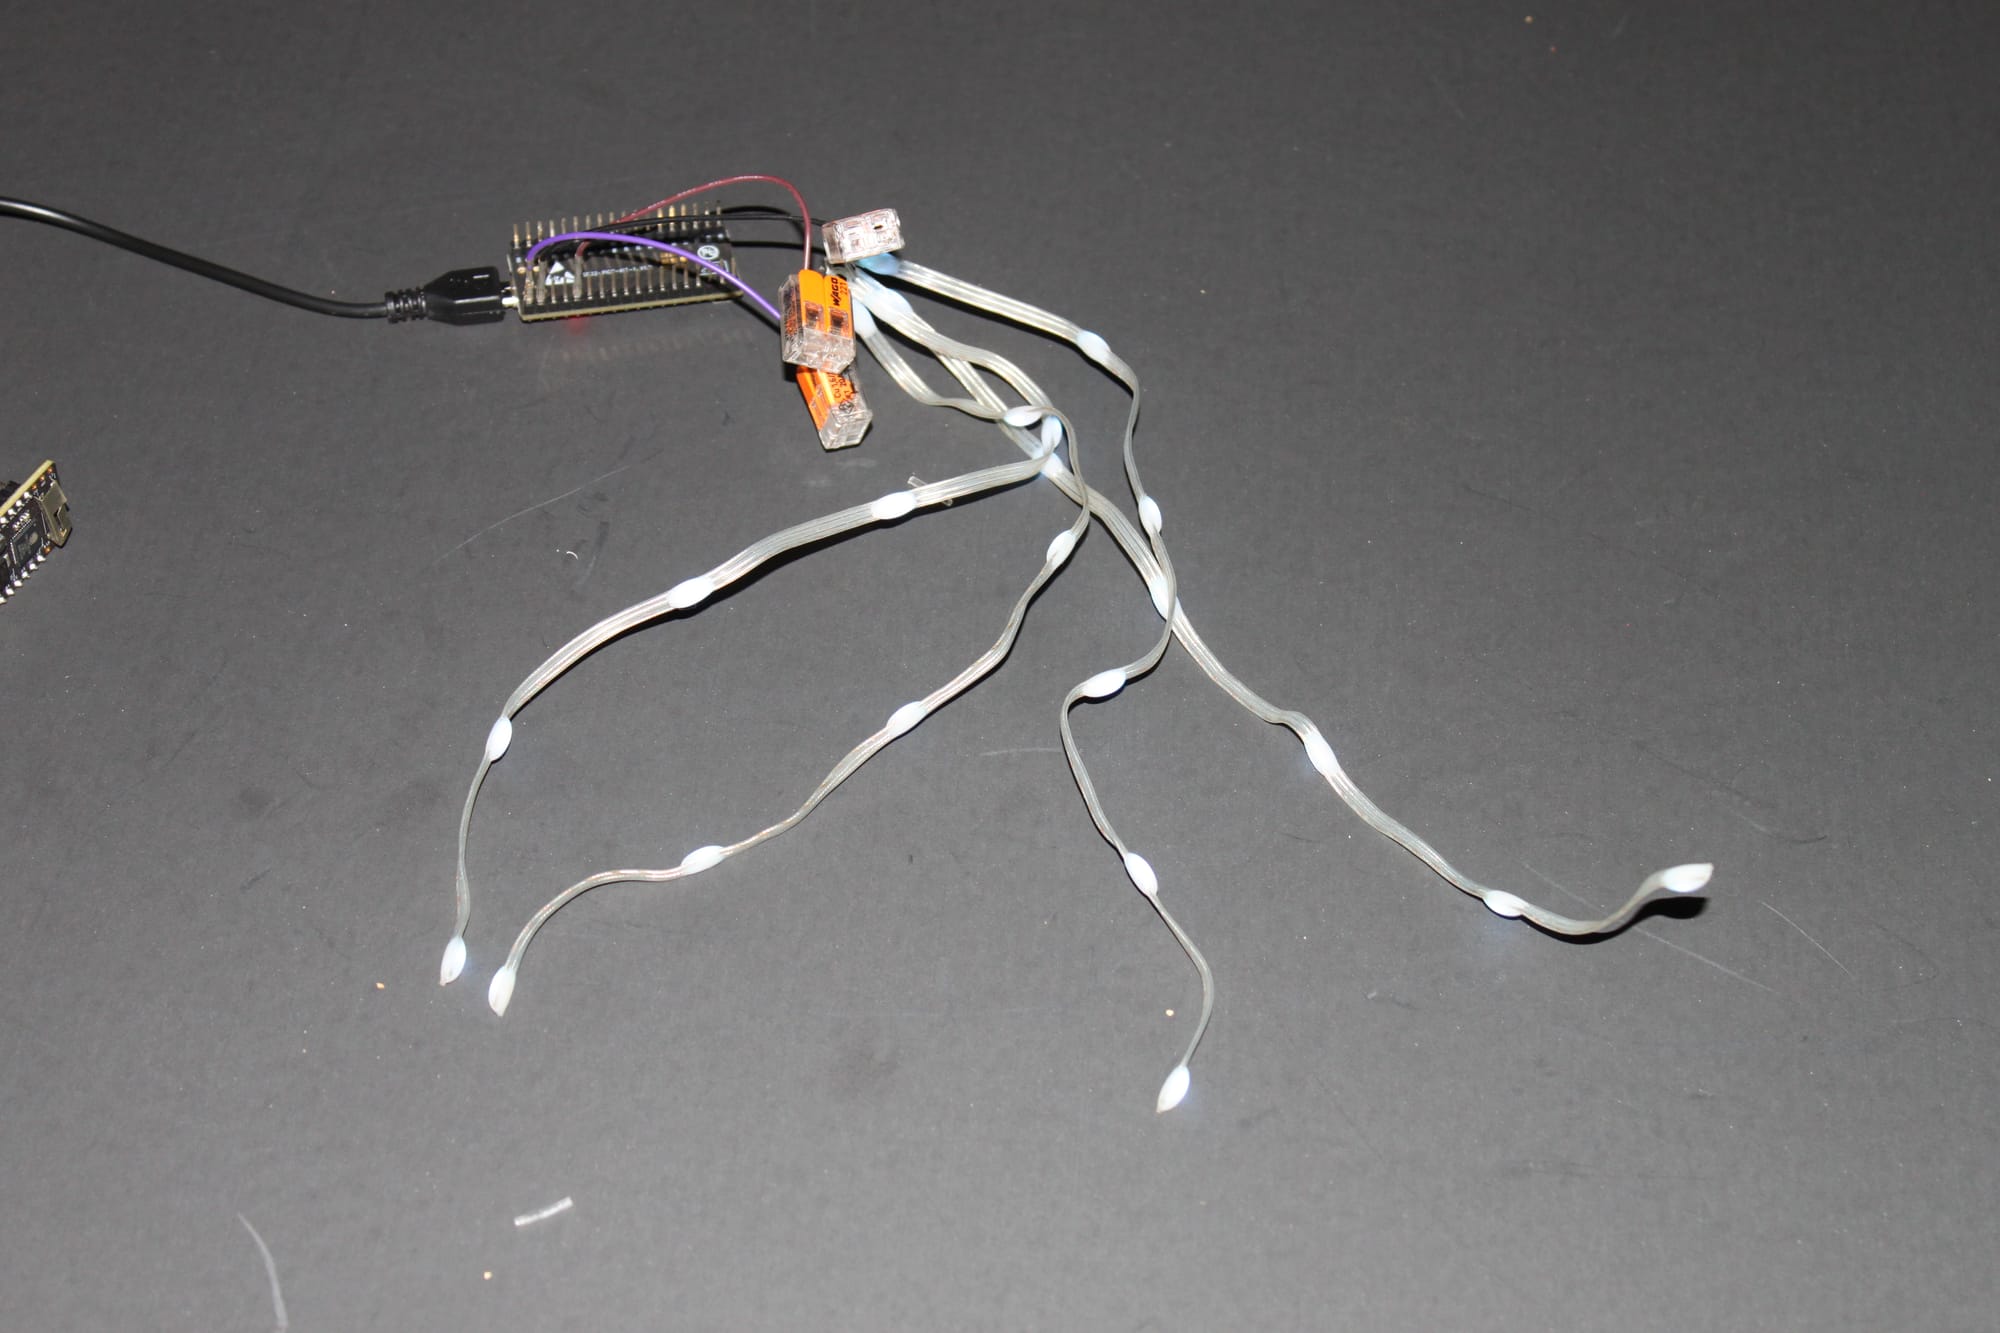
Test the individual with a group including at least one other individual. Use a 5V micro USB charger (old phone charger works great)
To display, each individual only needs a power cable. When uploading the program or debugging, a suitable USB data (not power only) micro cable is needed.
Member discussion: